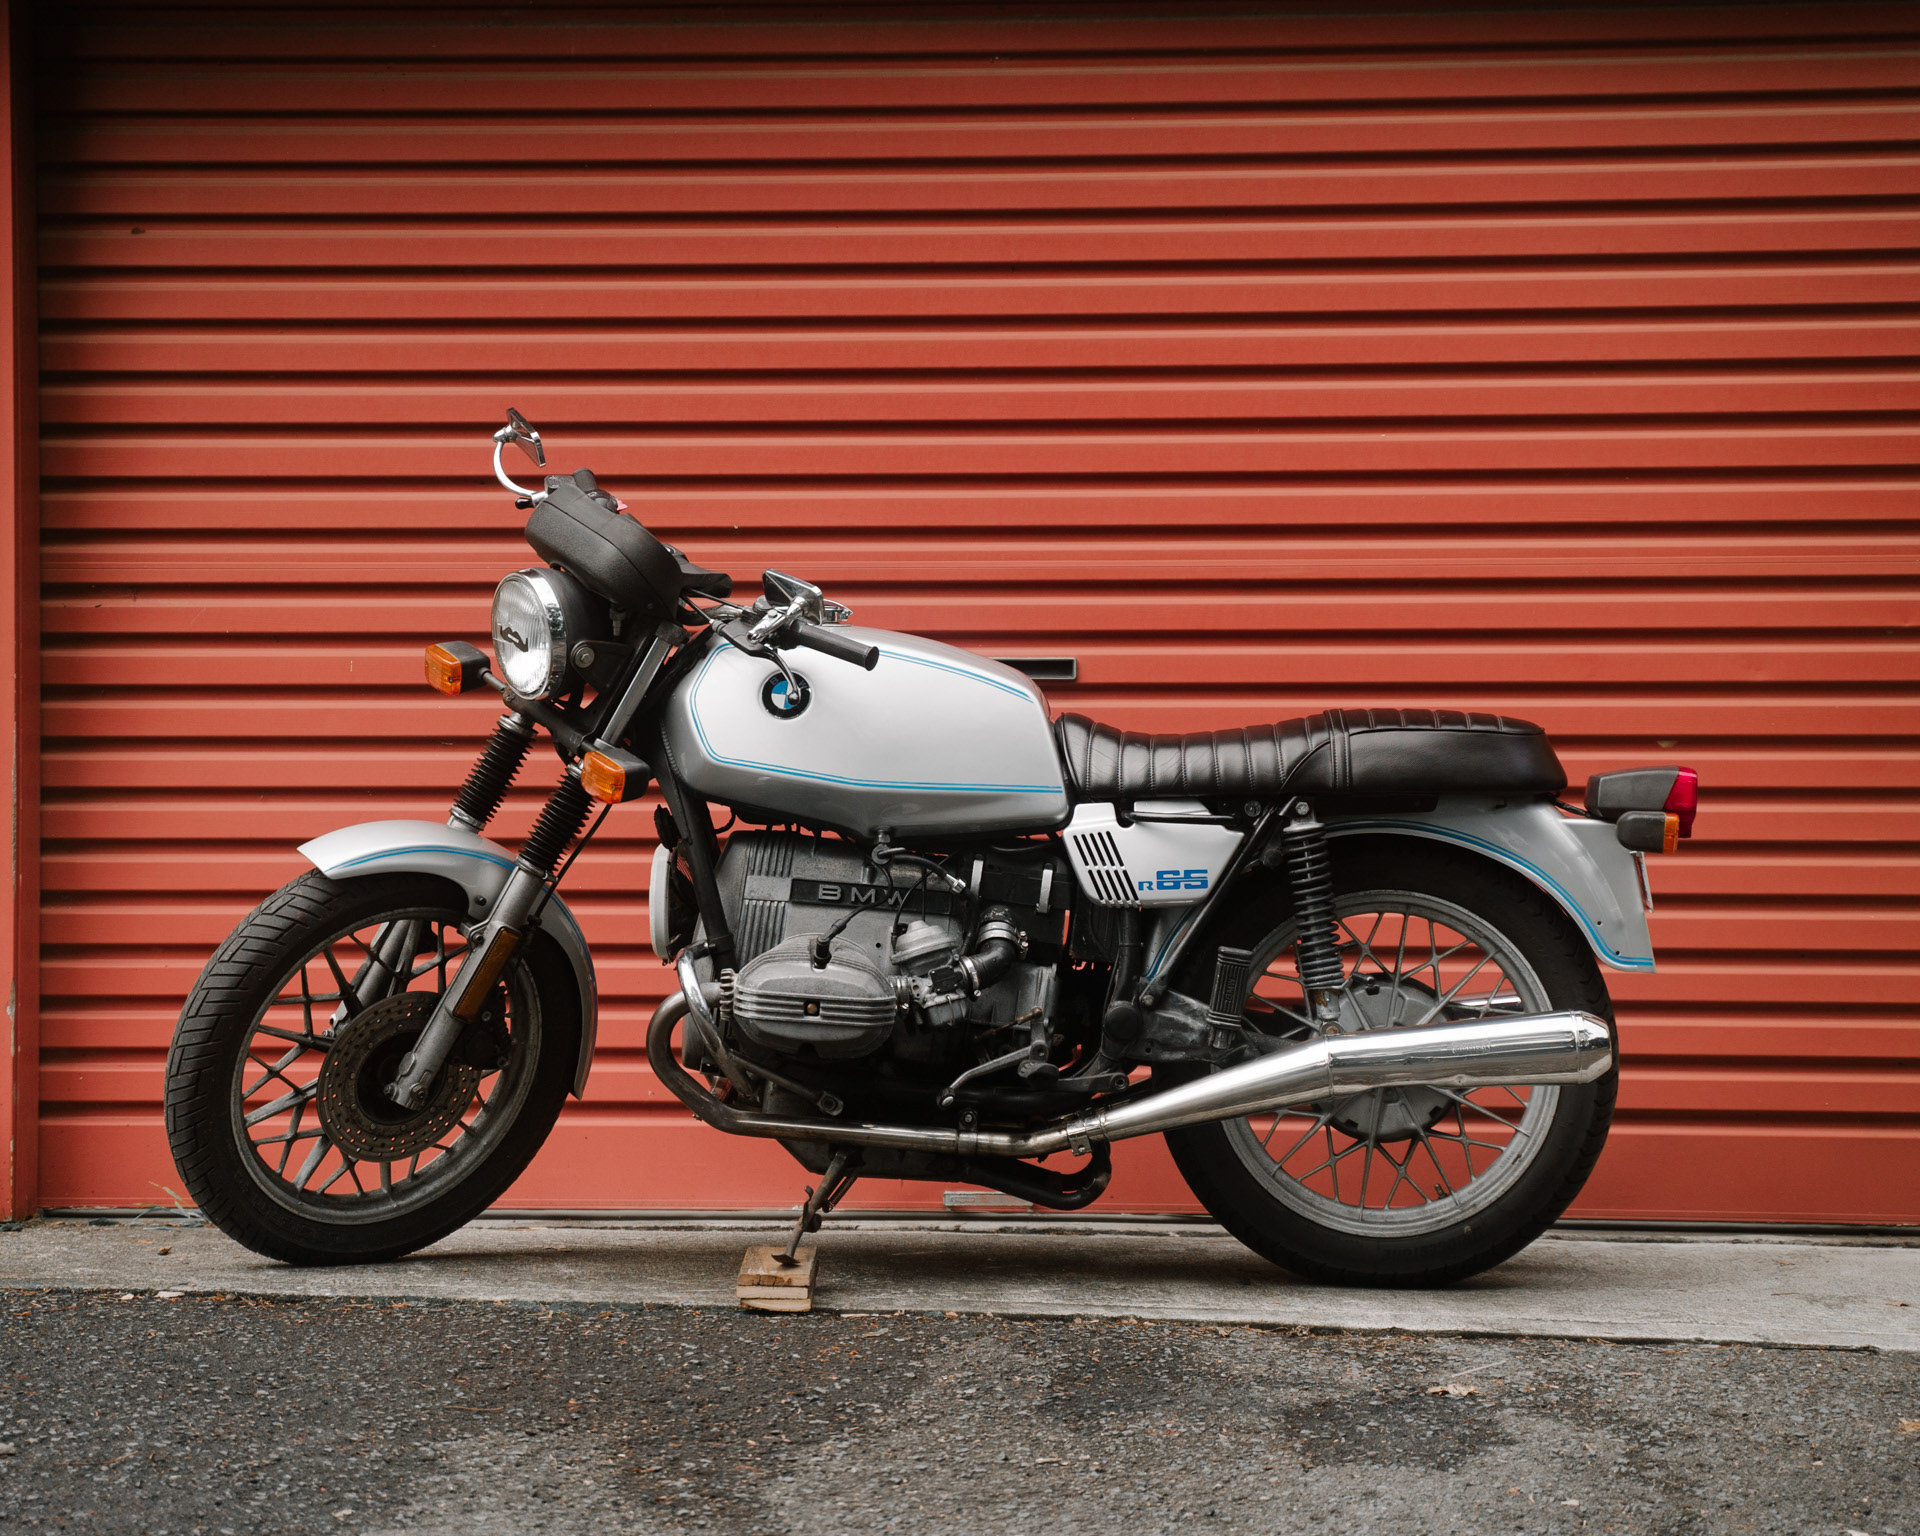
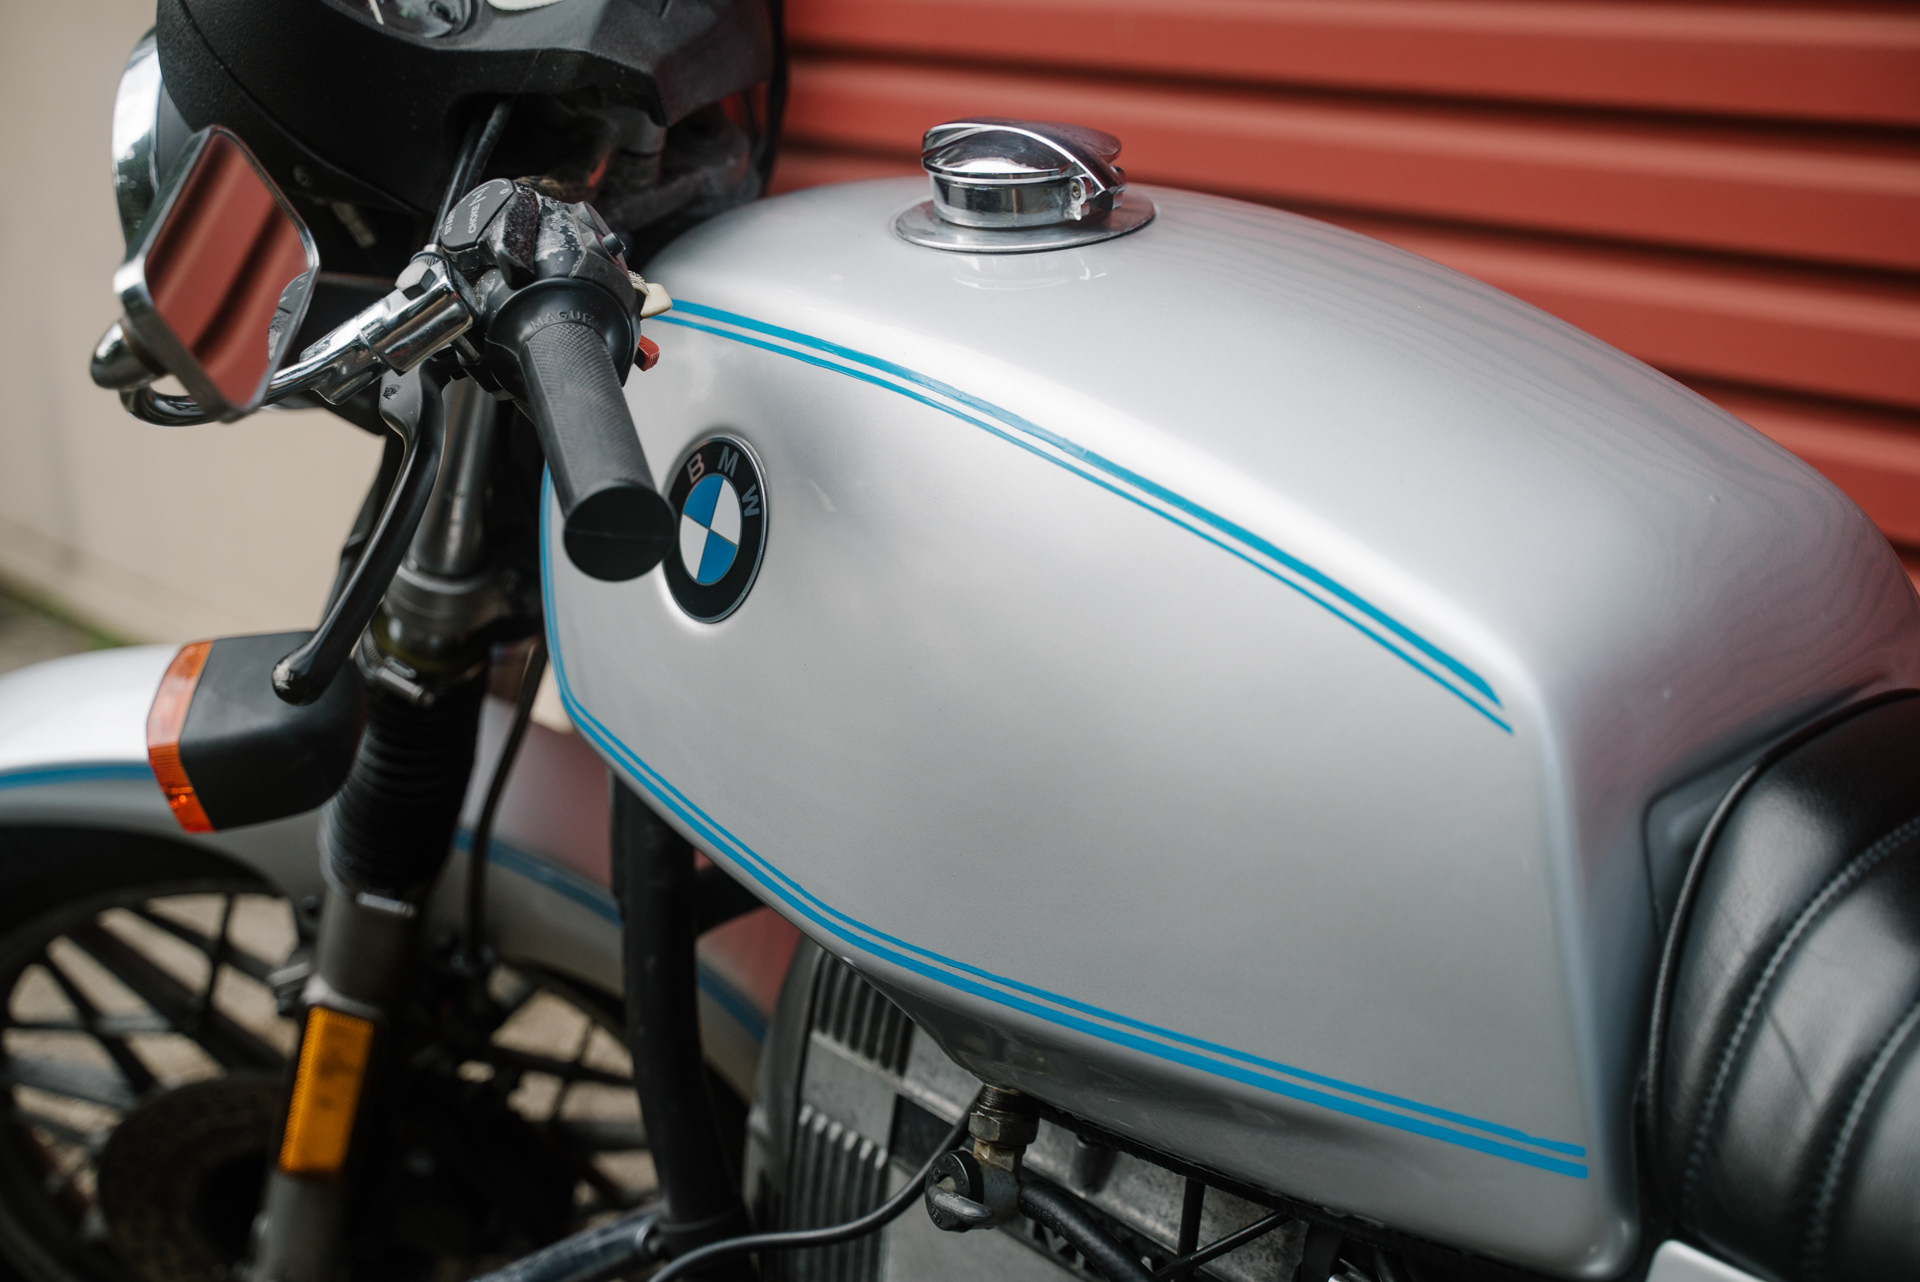


Pinstriping is a beautiful craft! On the left you can witness me bastardise it with masking tape and poor form, while on the right I've linked a clip to the original BMW Motorrad pinstripers.
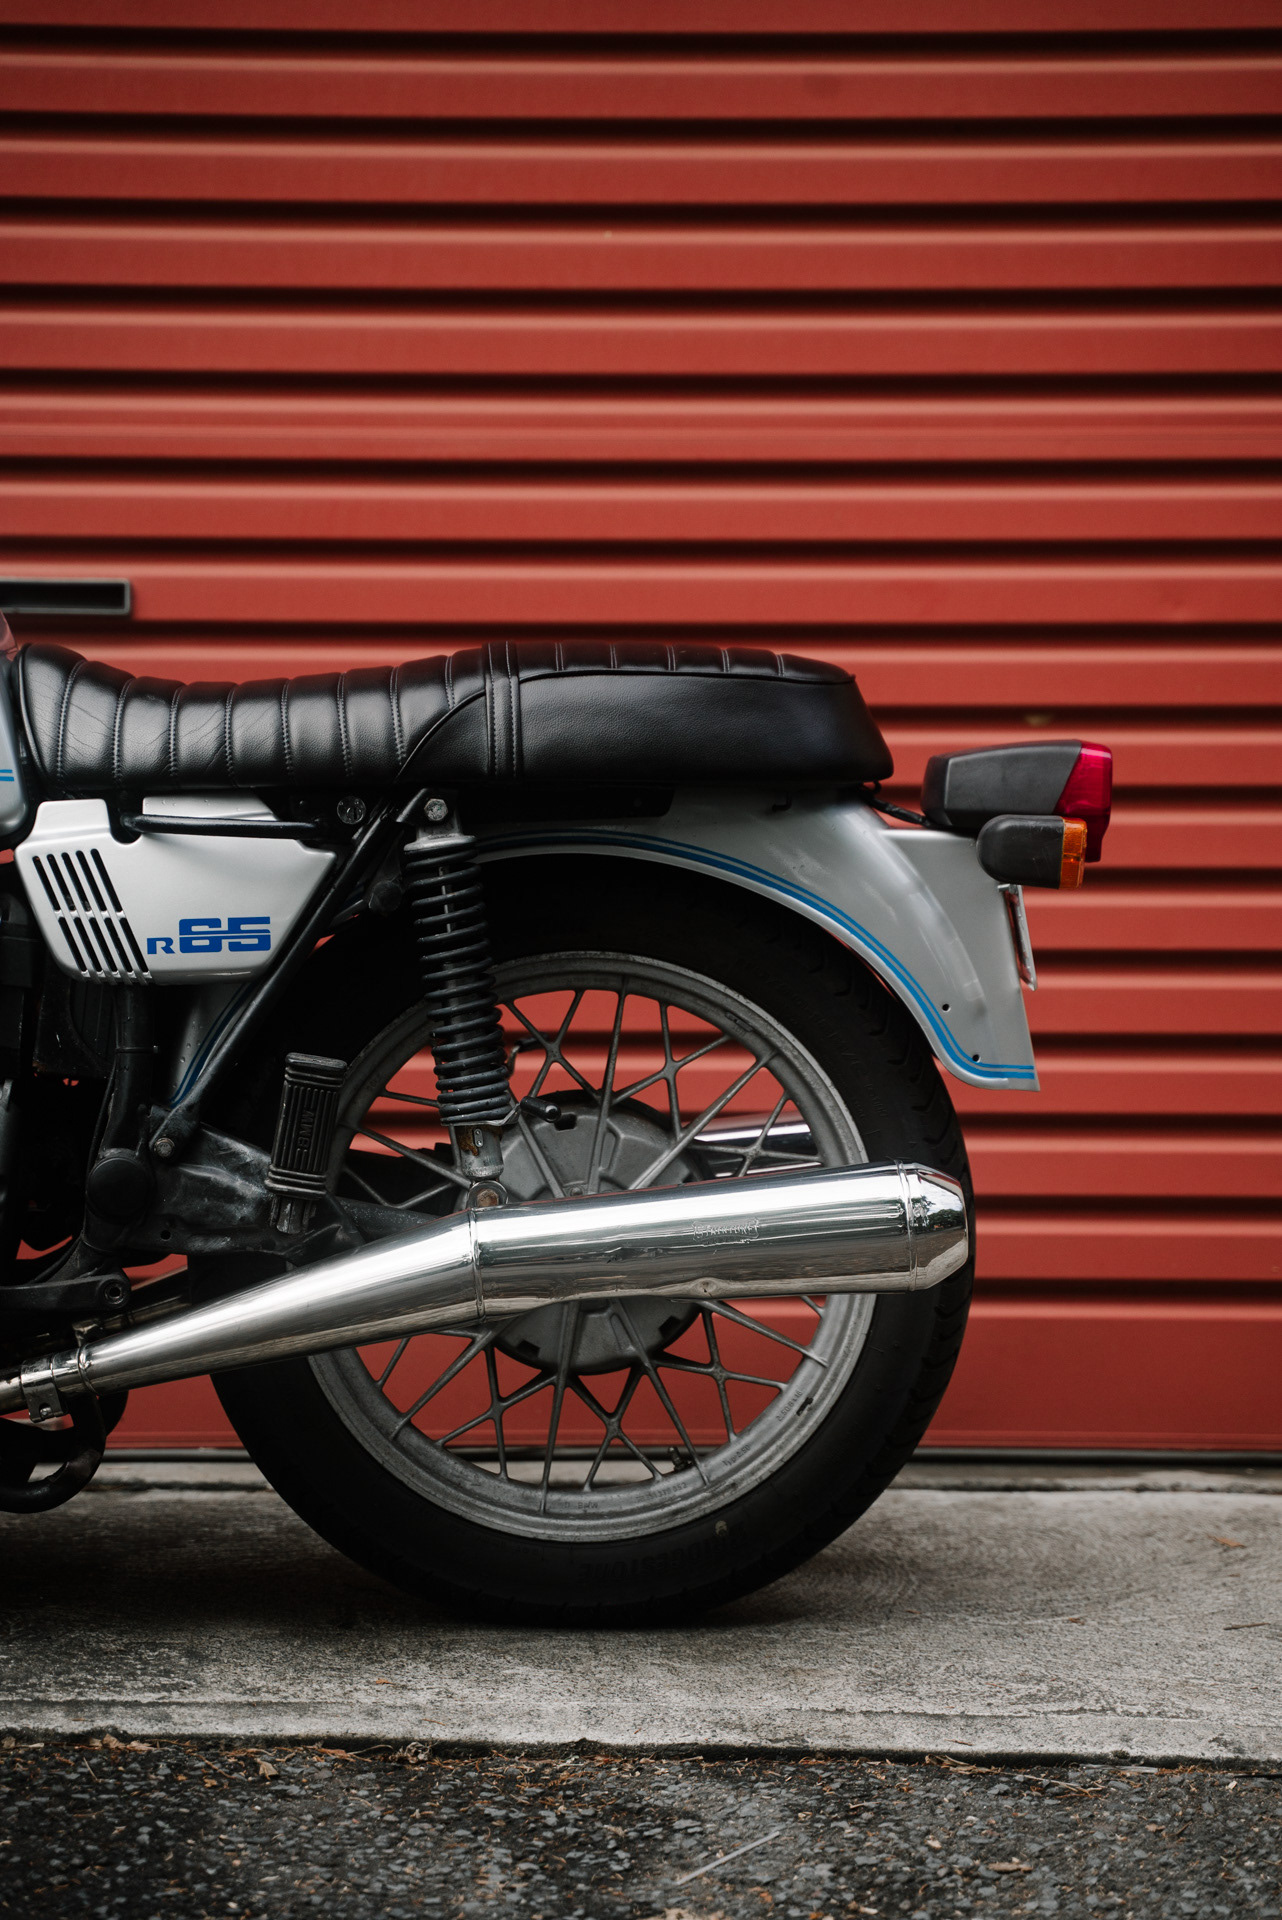
While it's a subtle result, the pinstripes bring through the bike's character and its 80s charm.
To fix the clearcoat run, I shaved it down with a razorblade (nerve-racking), sanded with 800-2000 grit, and then rotary buffed down the scratch marks. I actually think I need to sand further to 3000 before buffing for the polish compound sparkle. For now though, I'm staying conservative and sticking with it.
The fresh 80s style R65 sticker ties it all together. Next challenge will be the pinstripes.
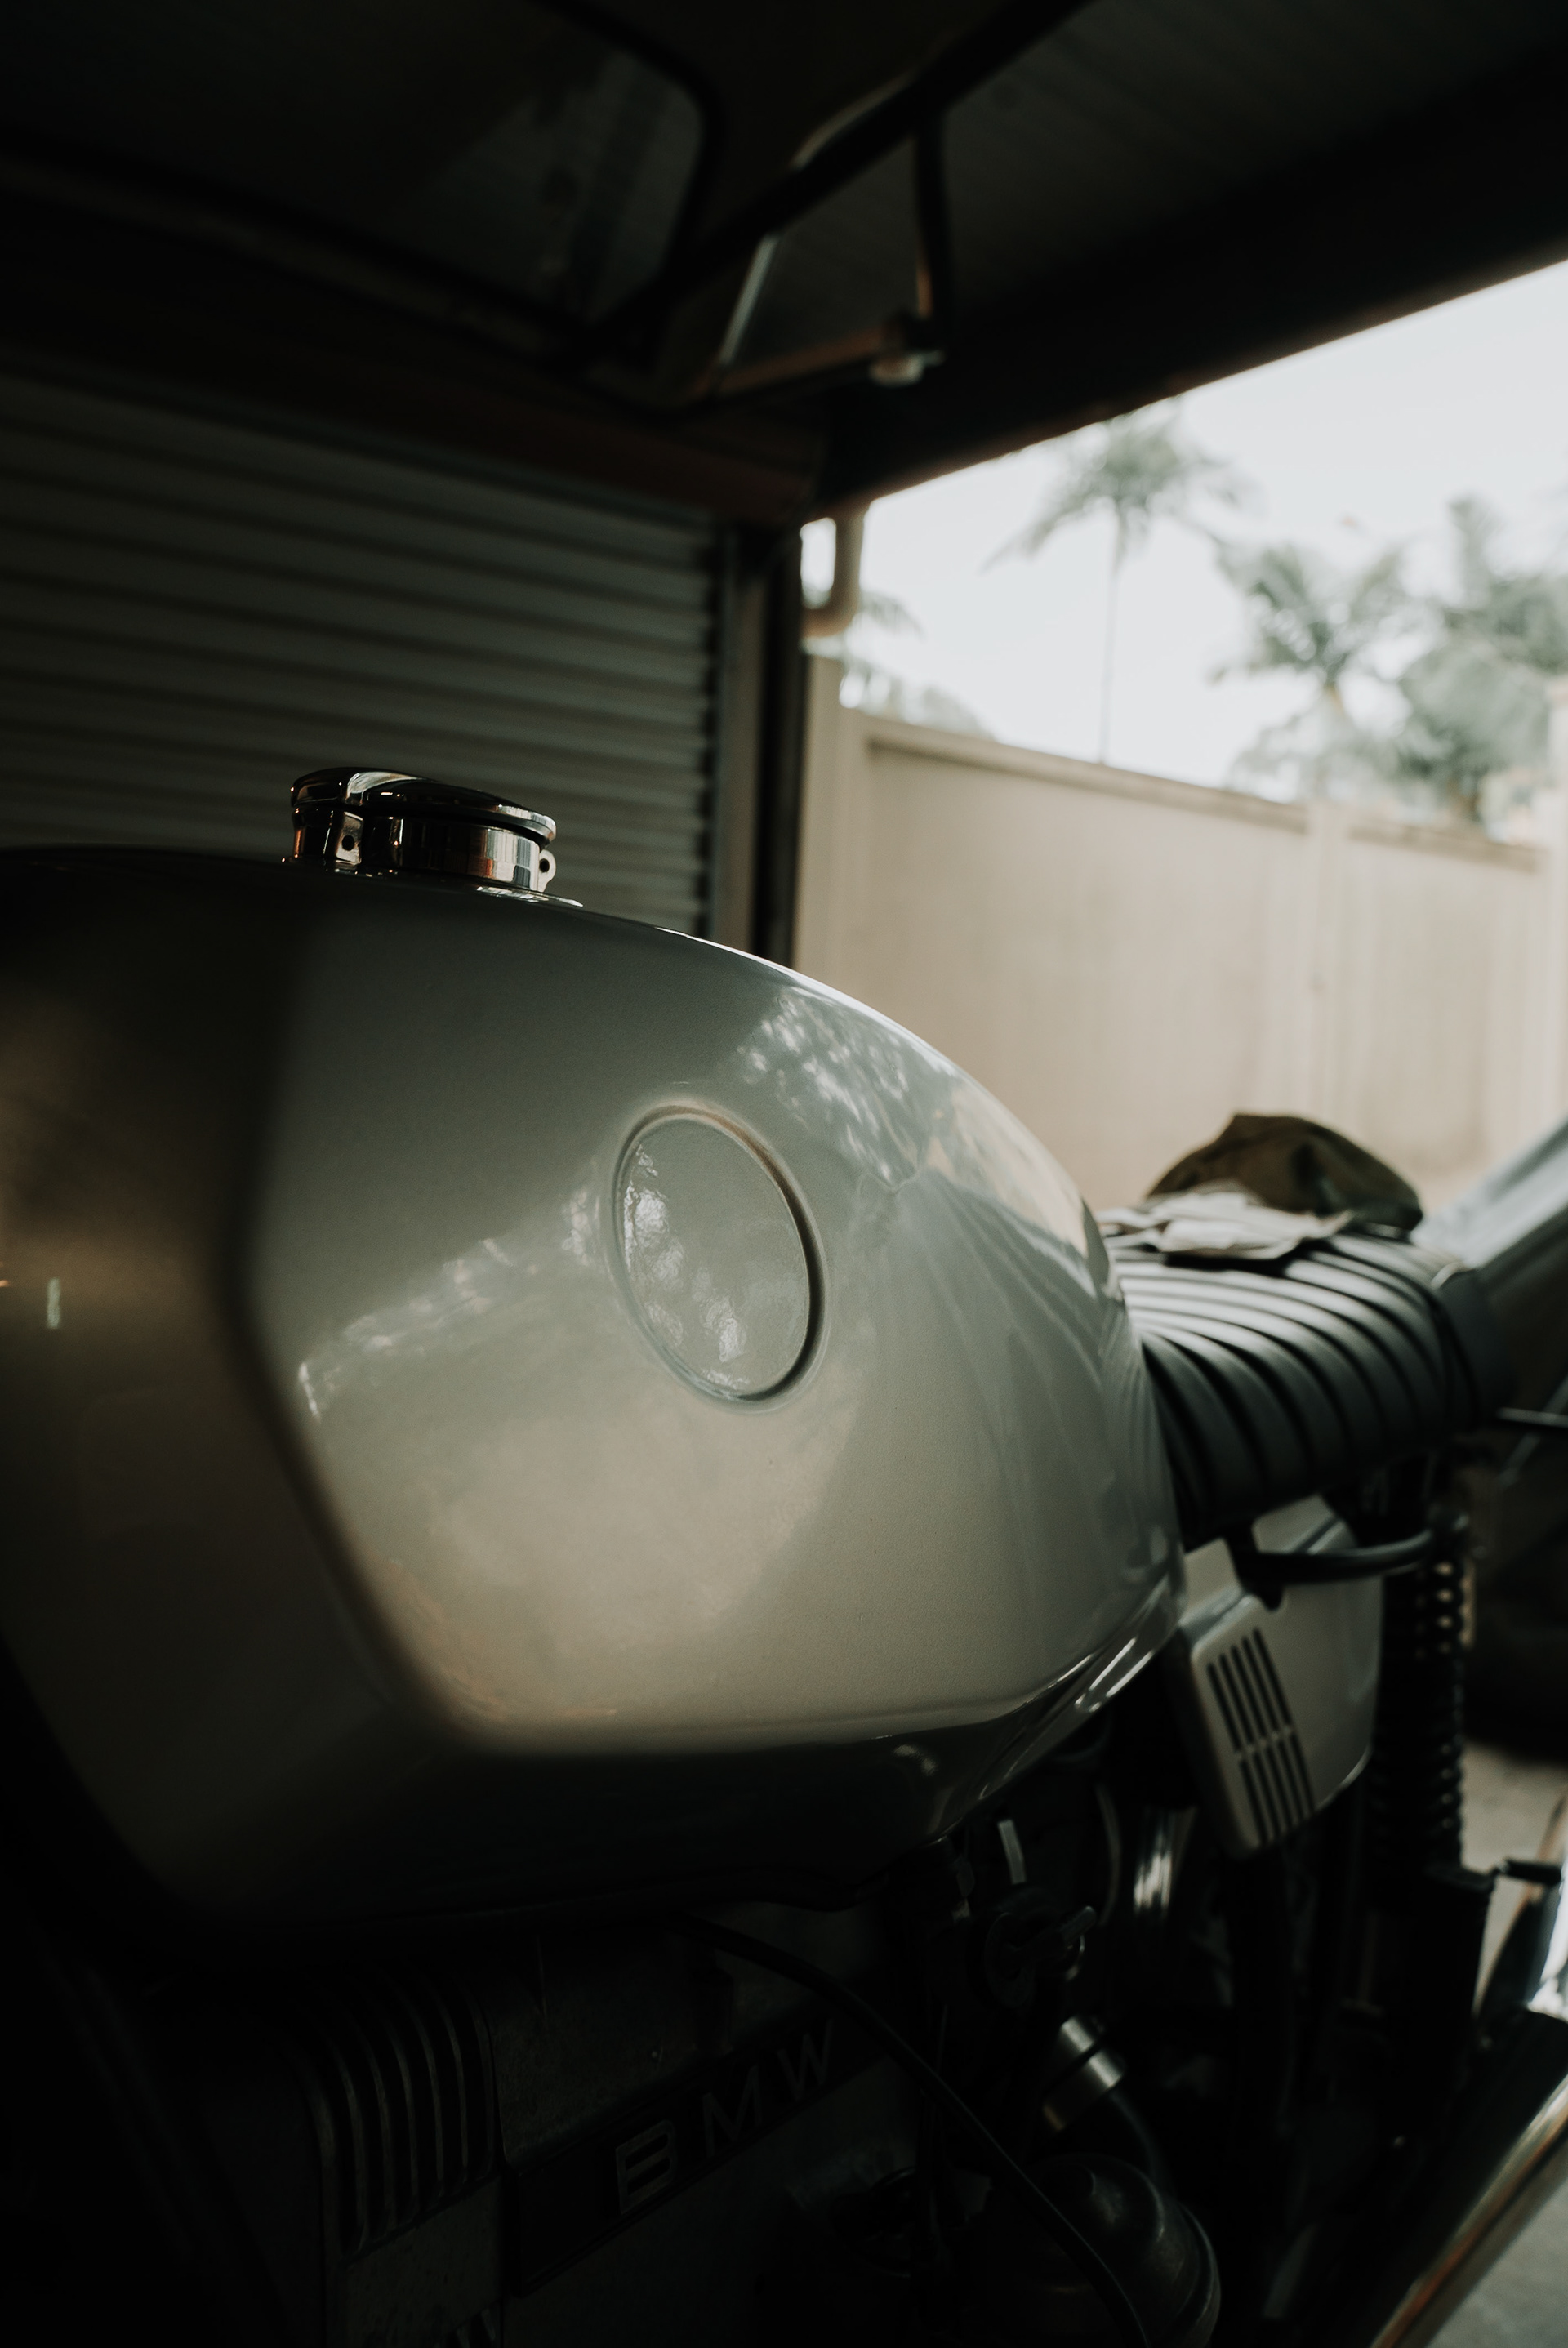
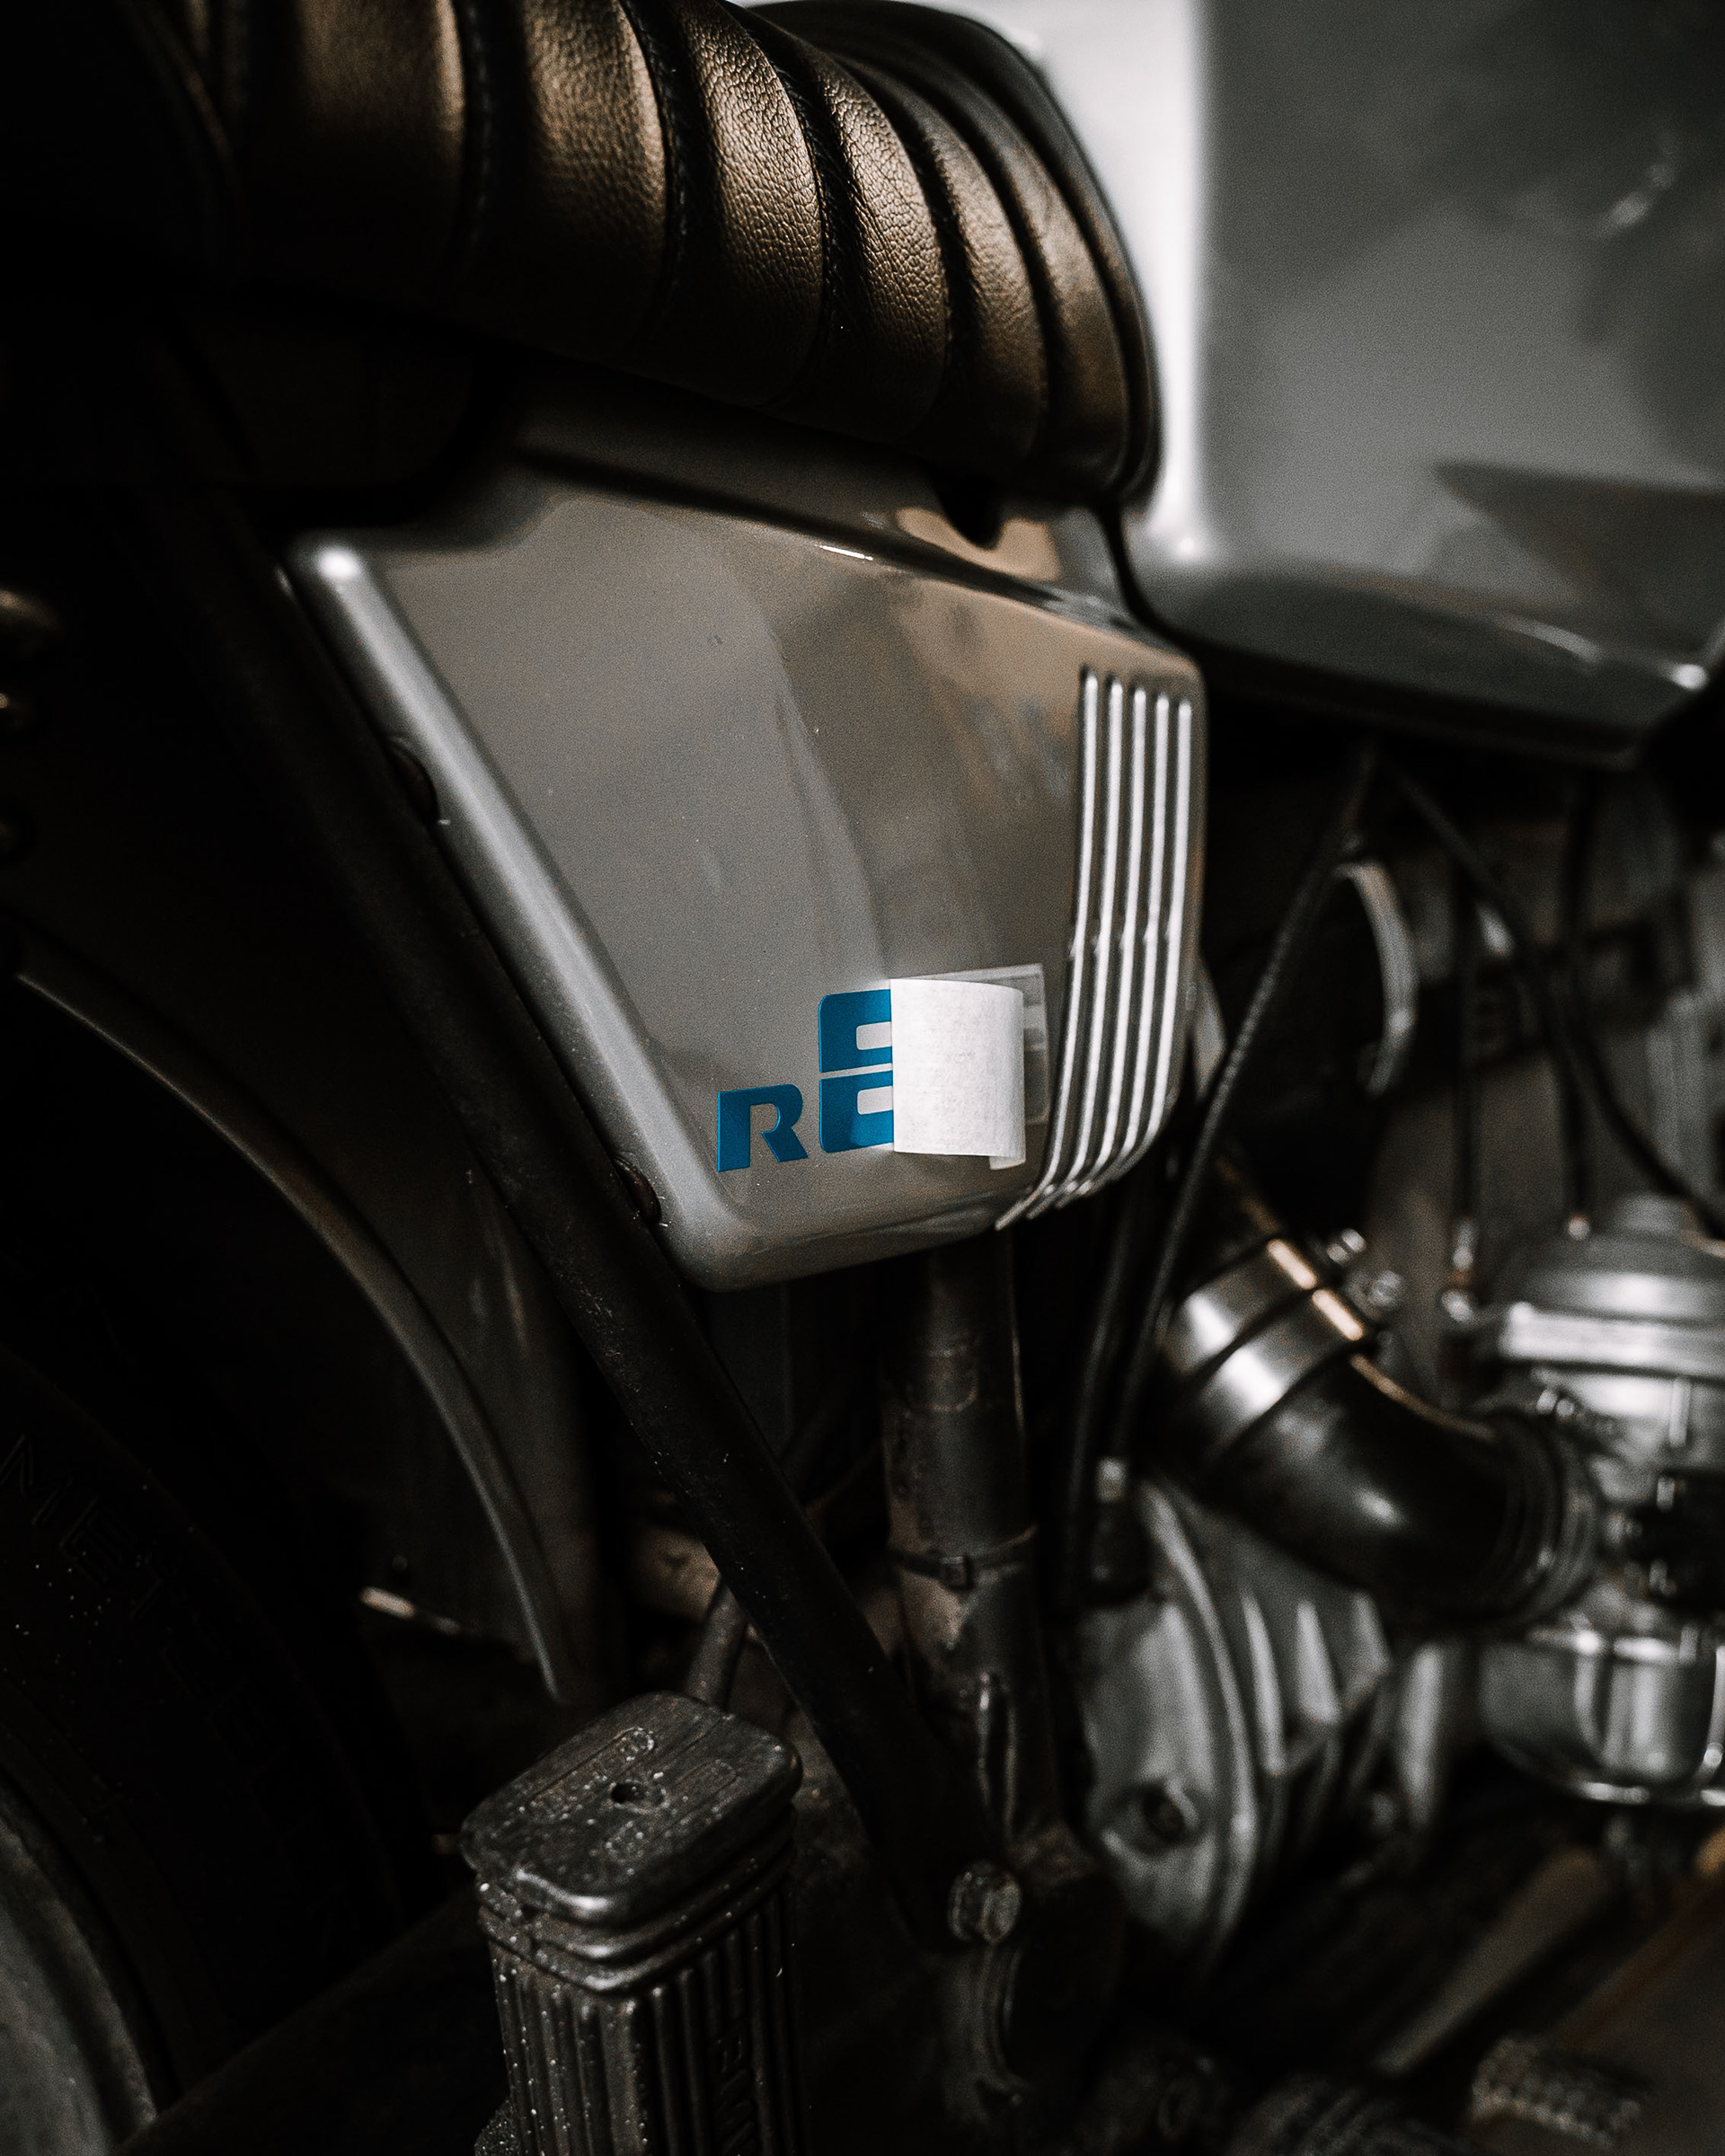
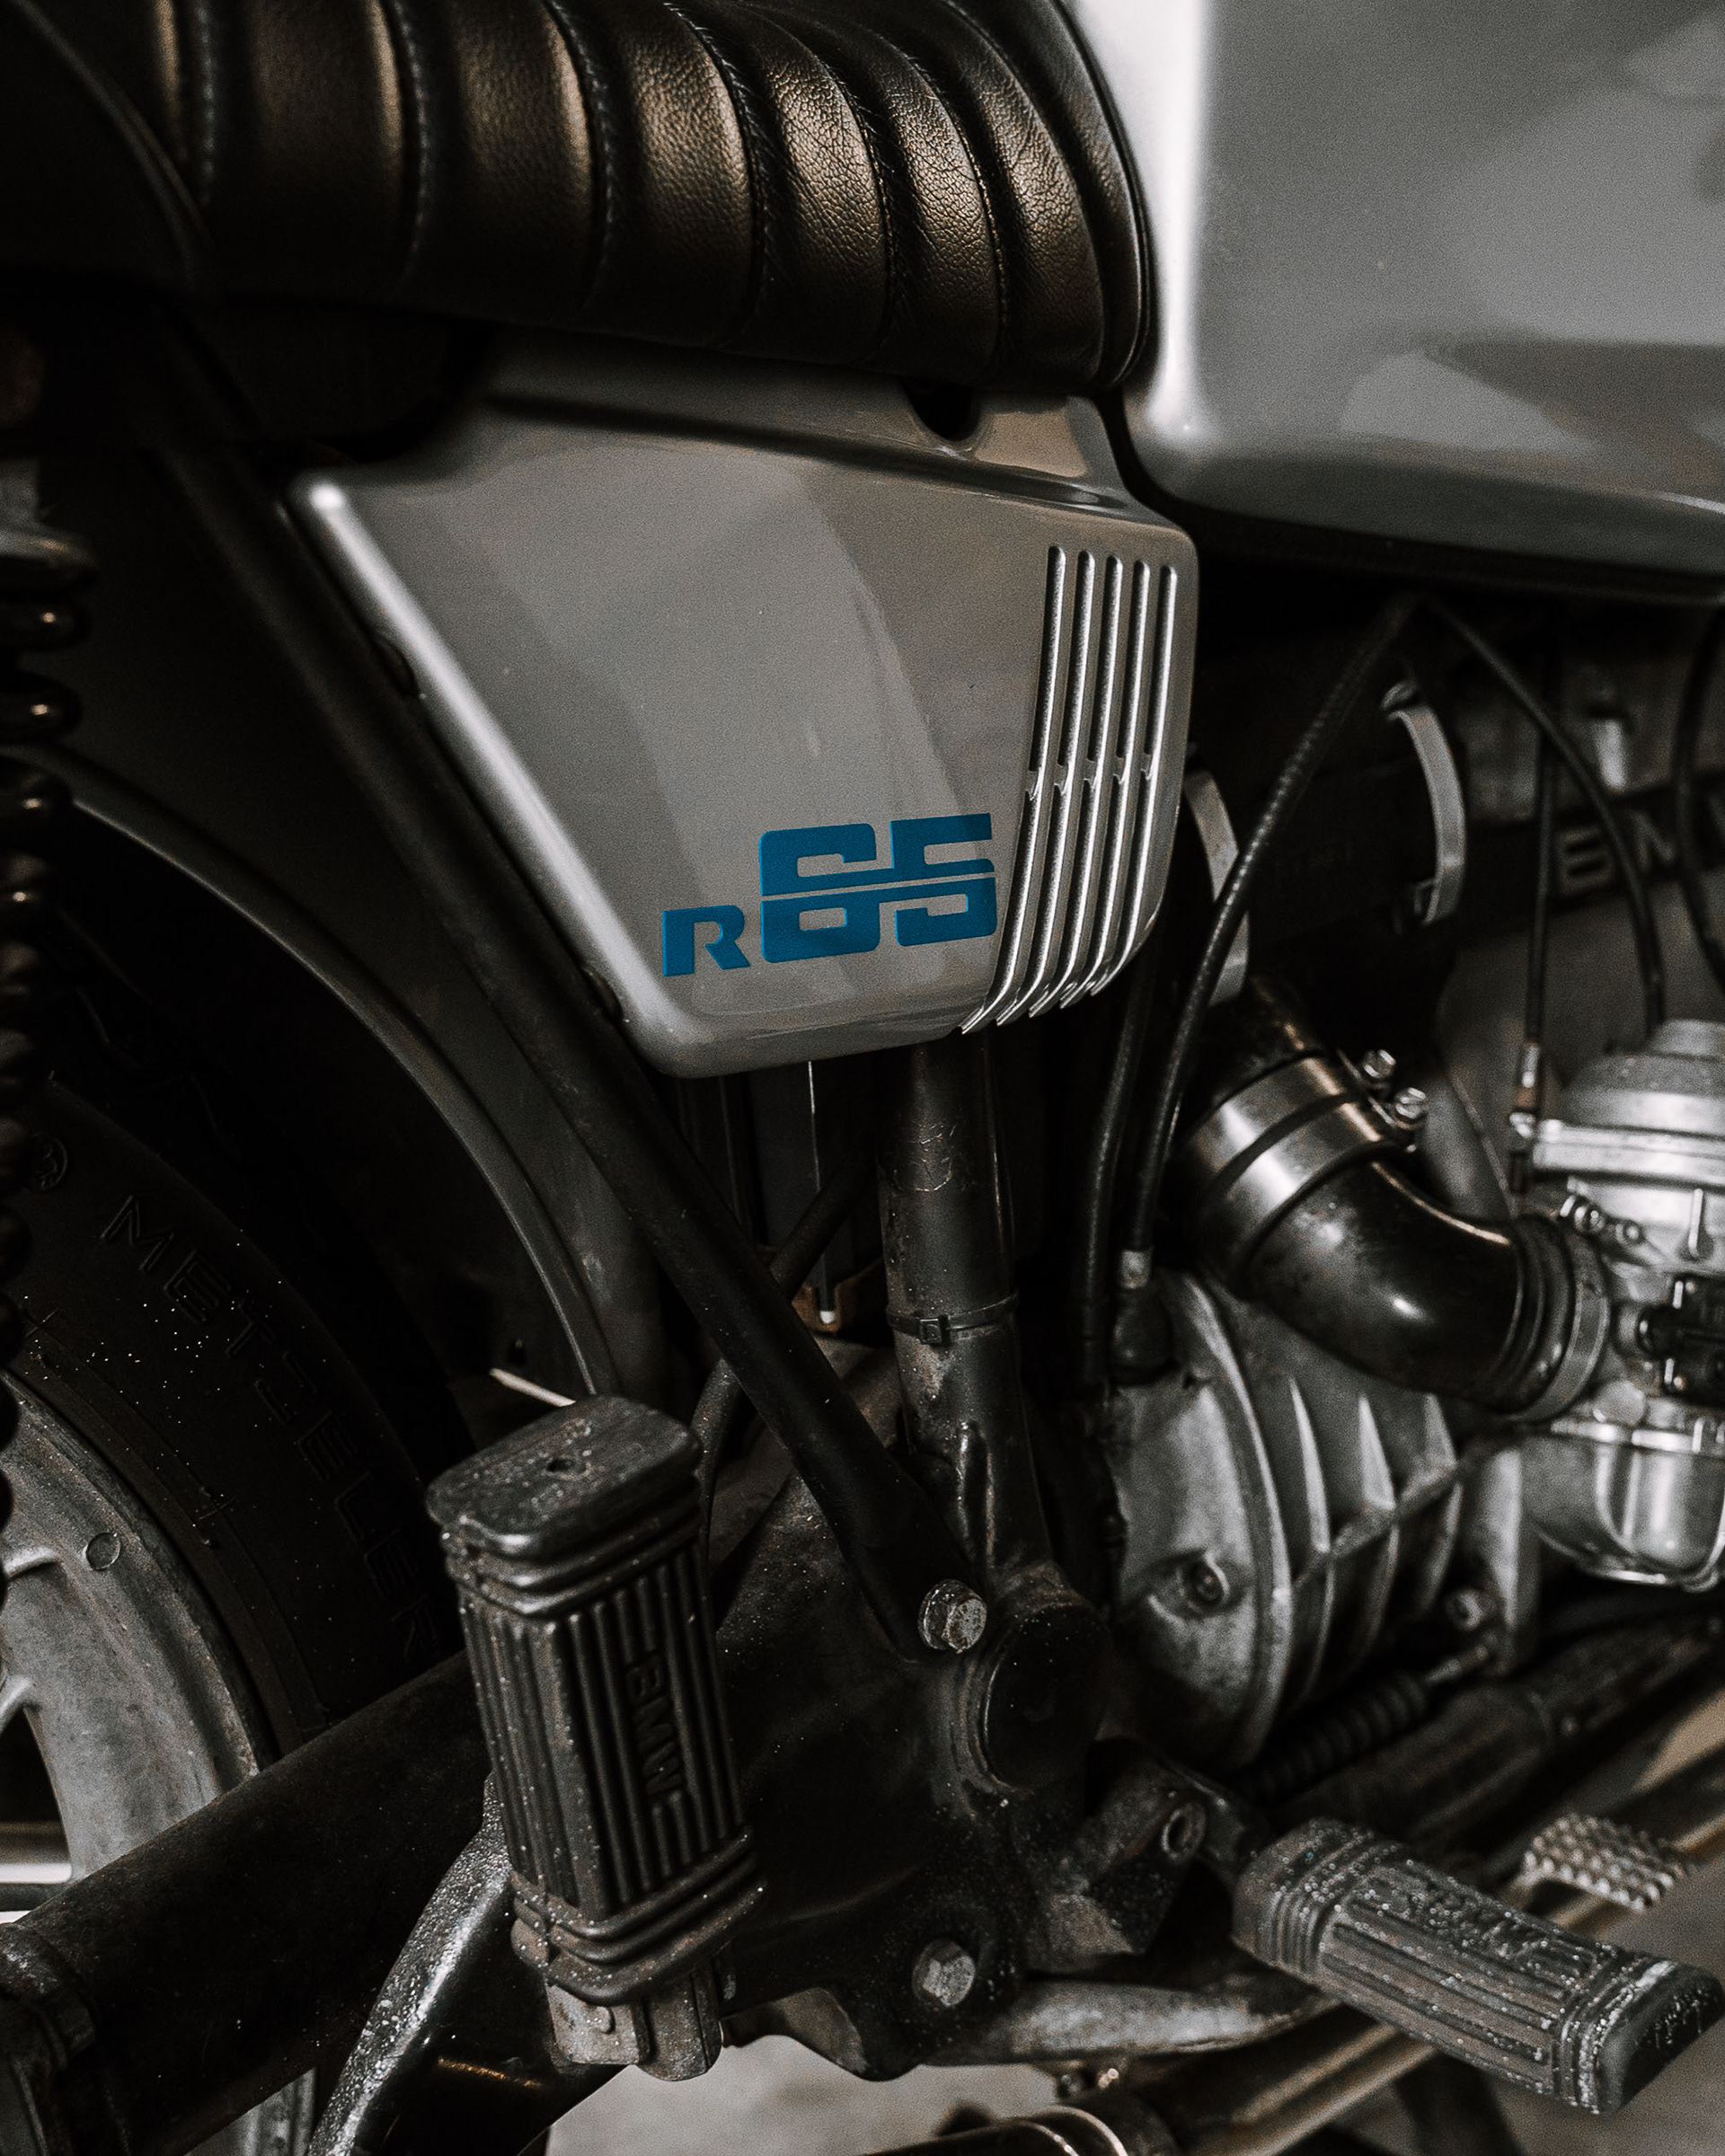
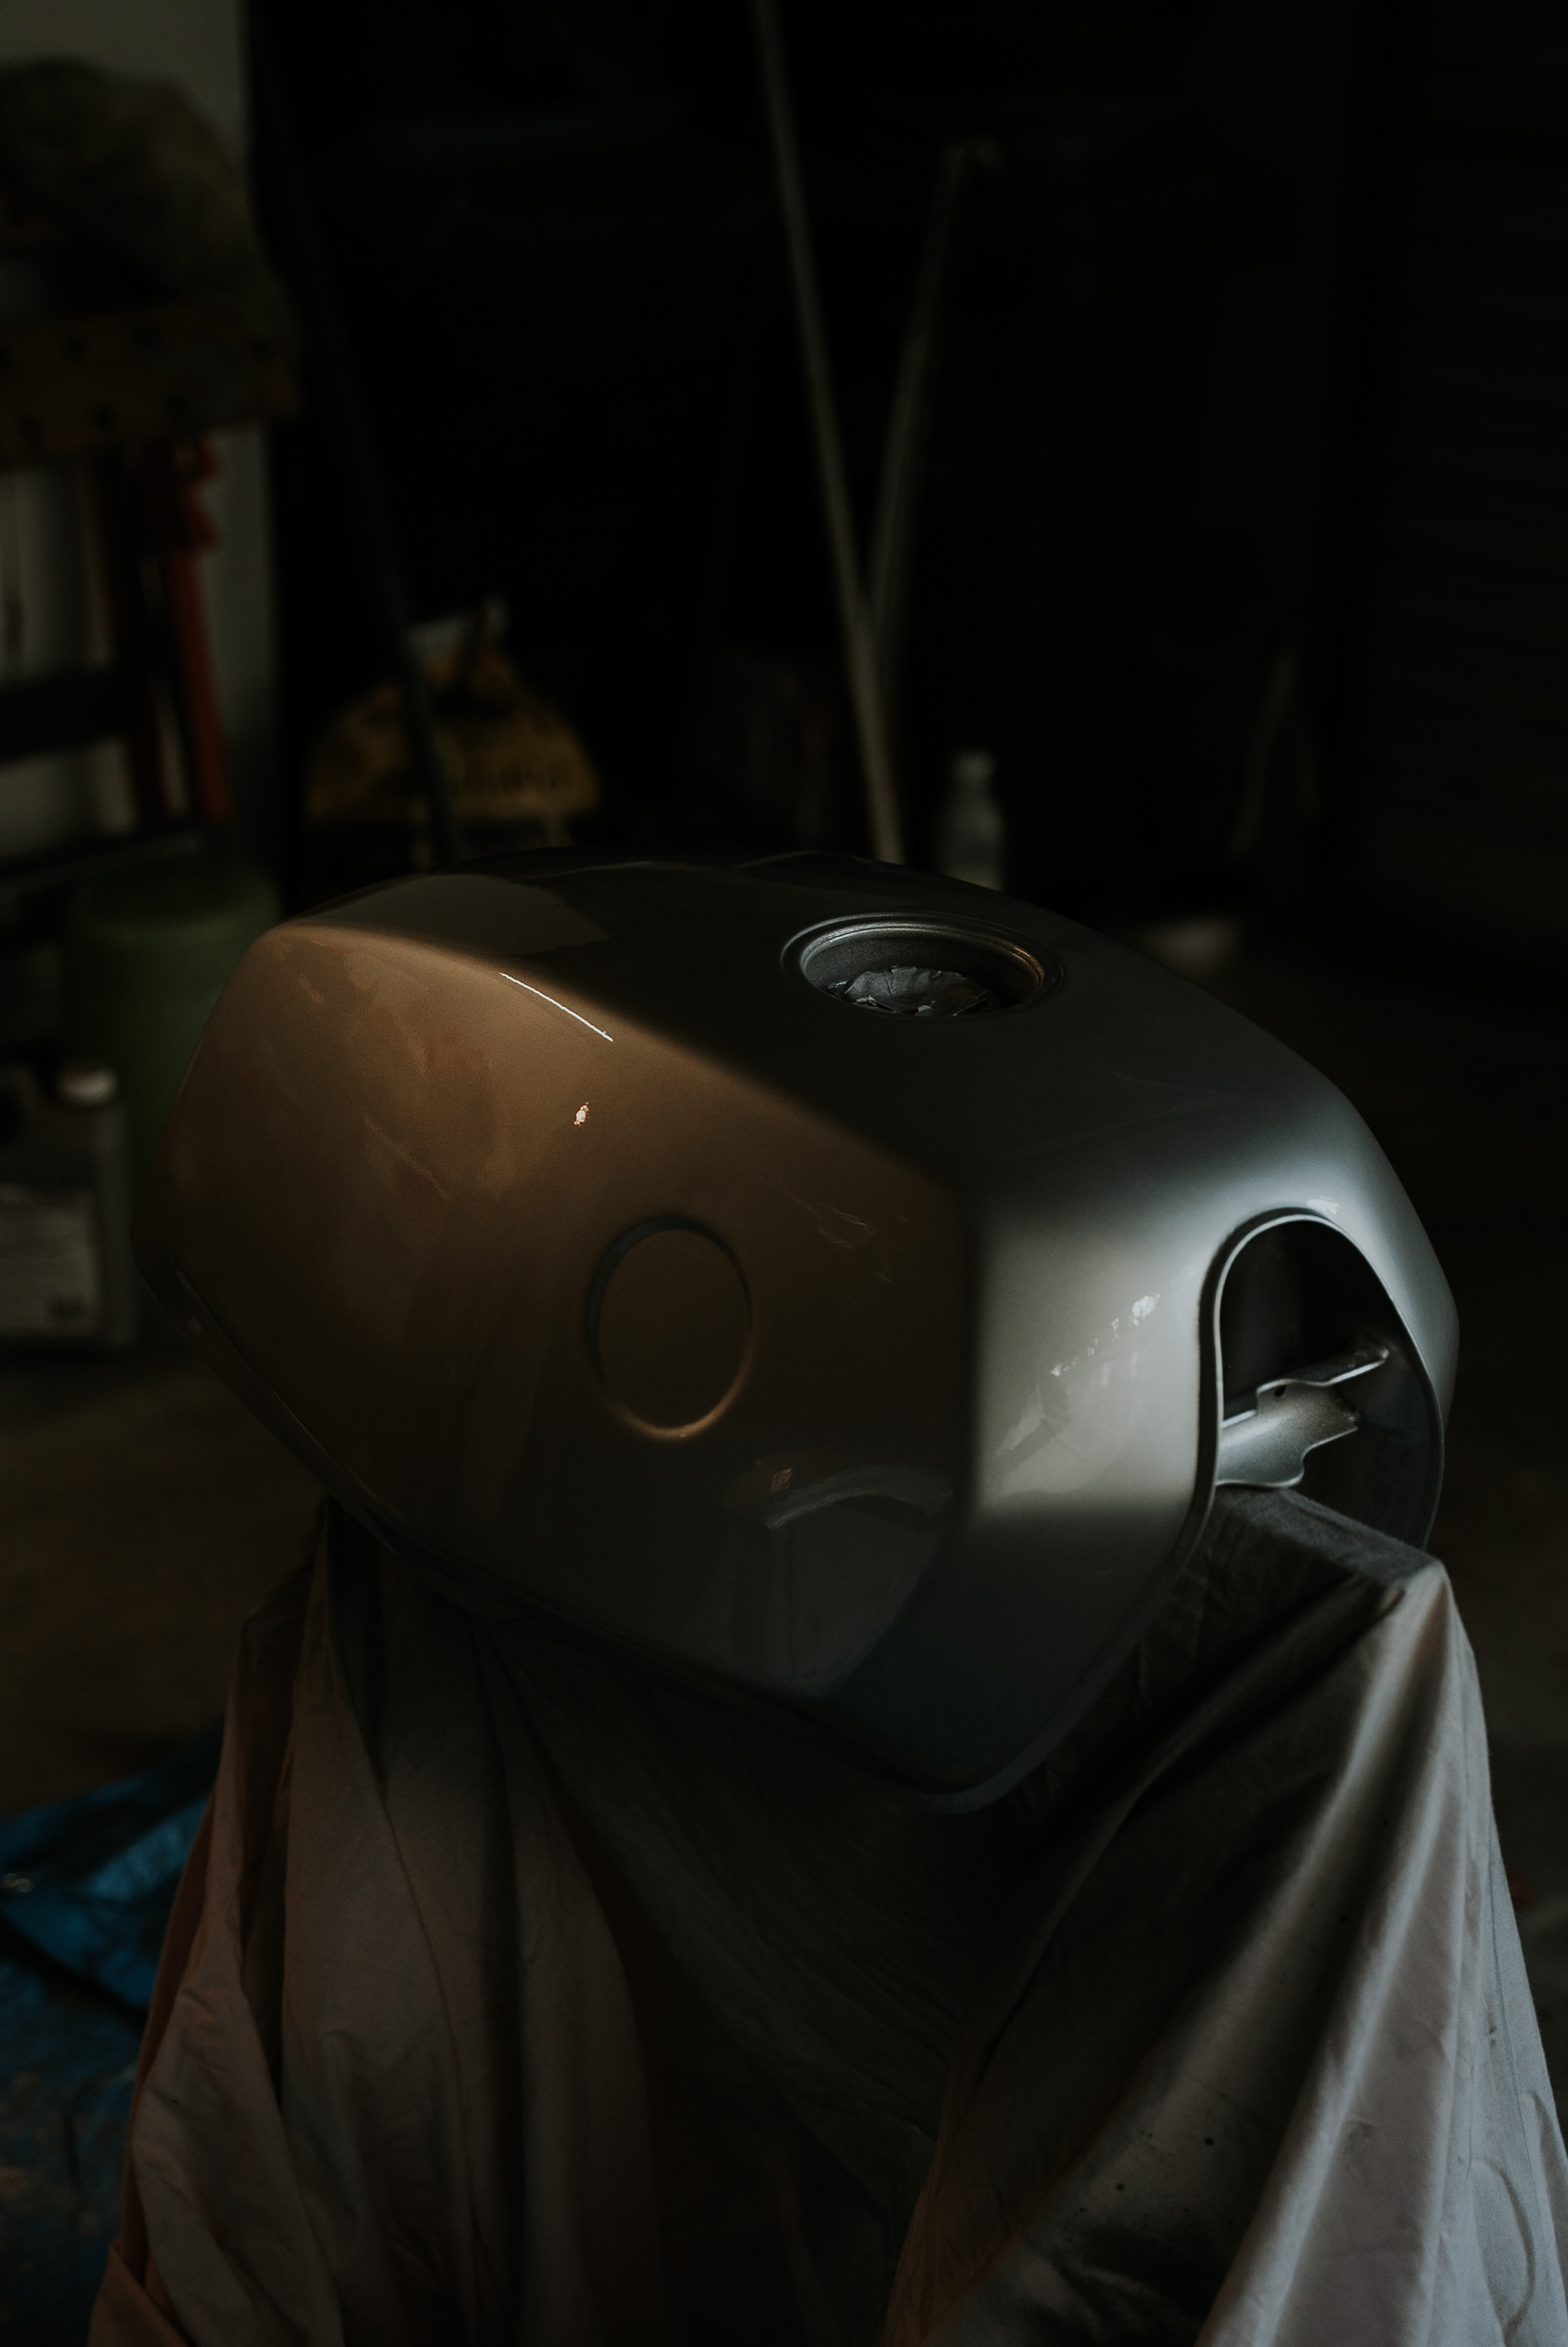
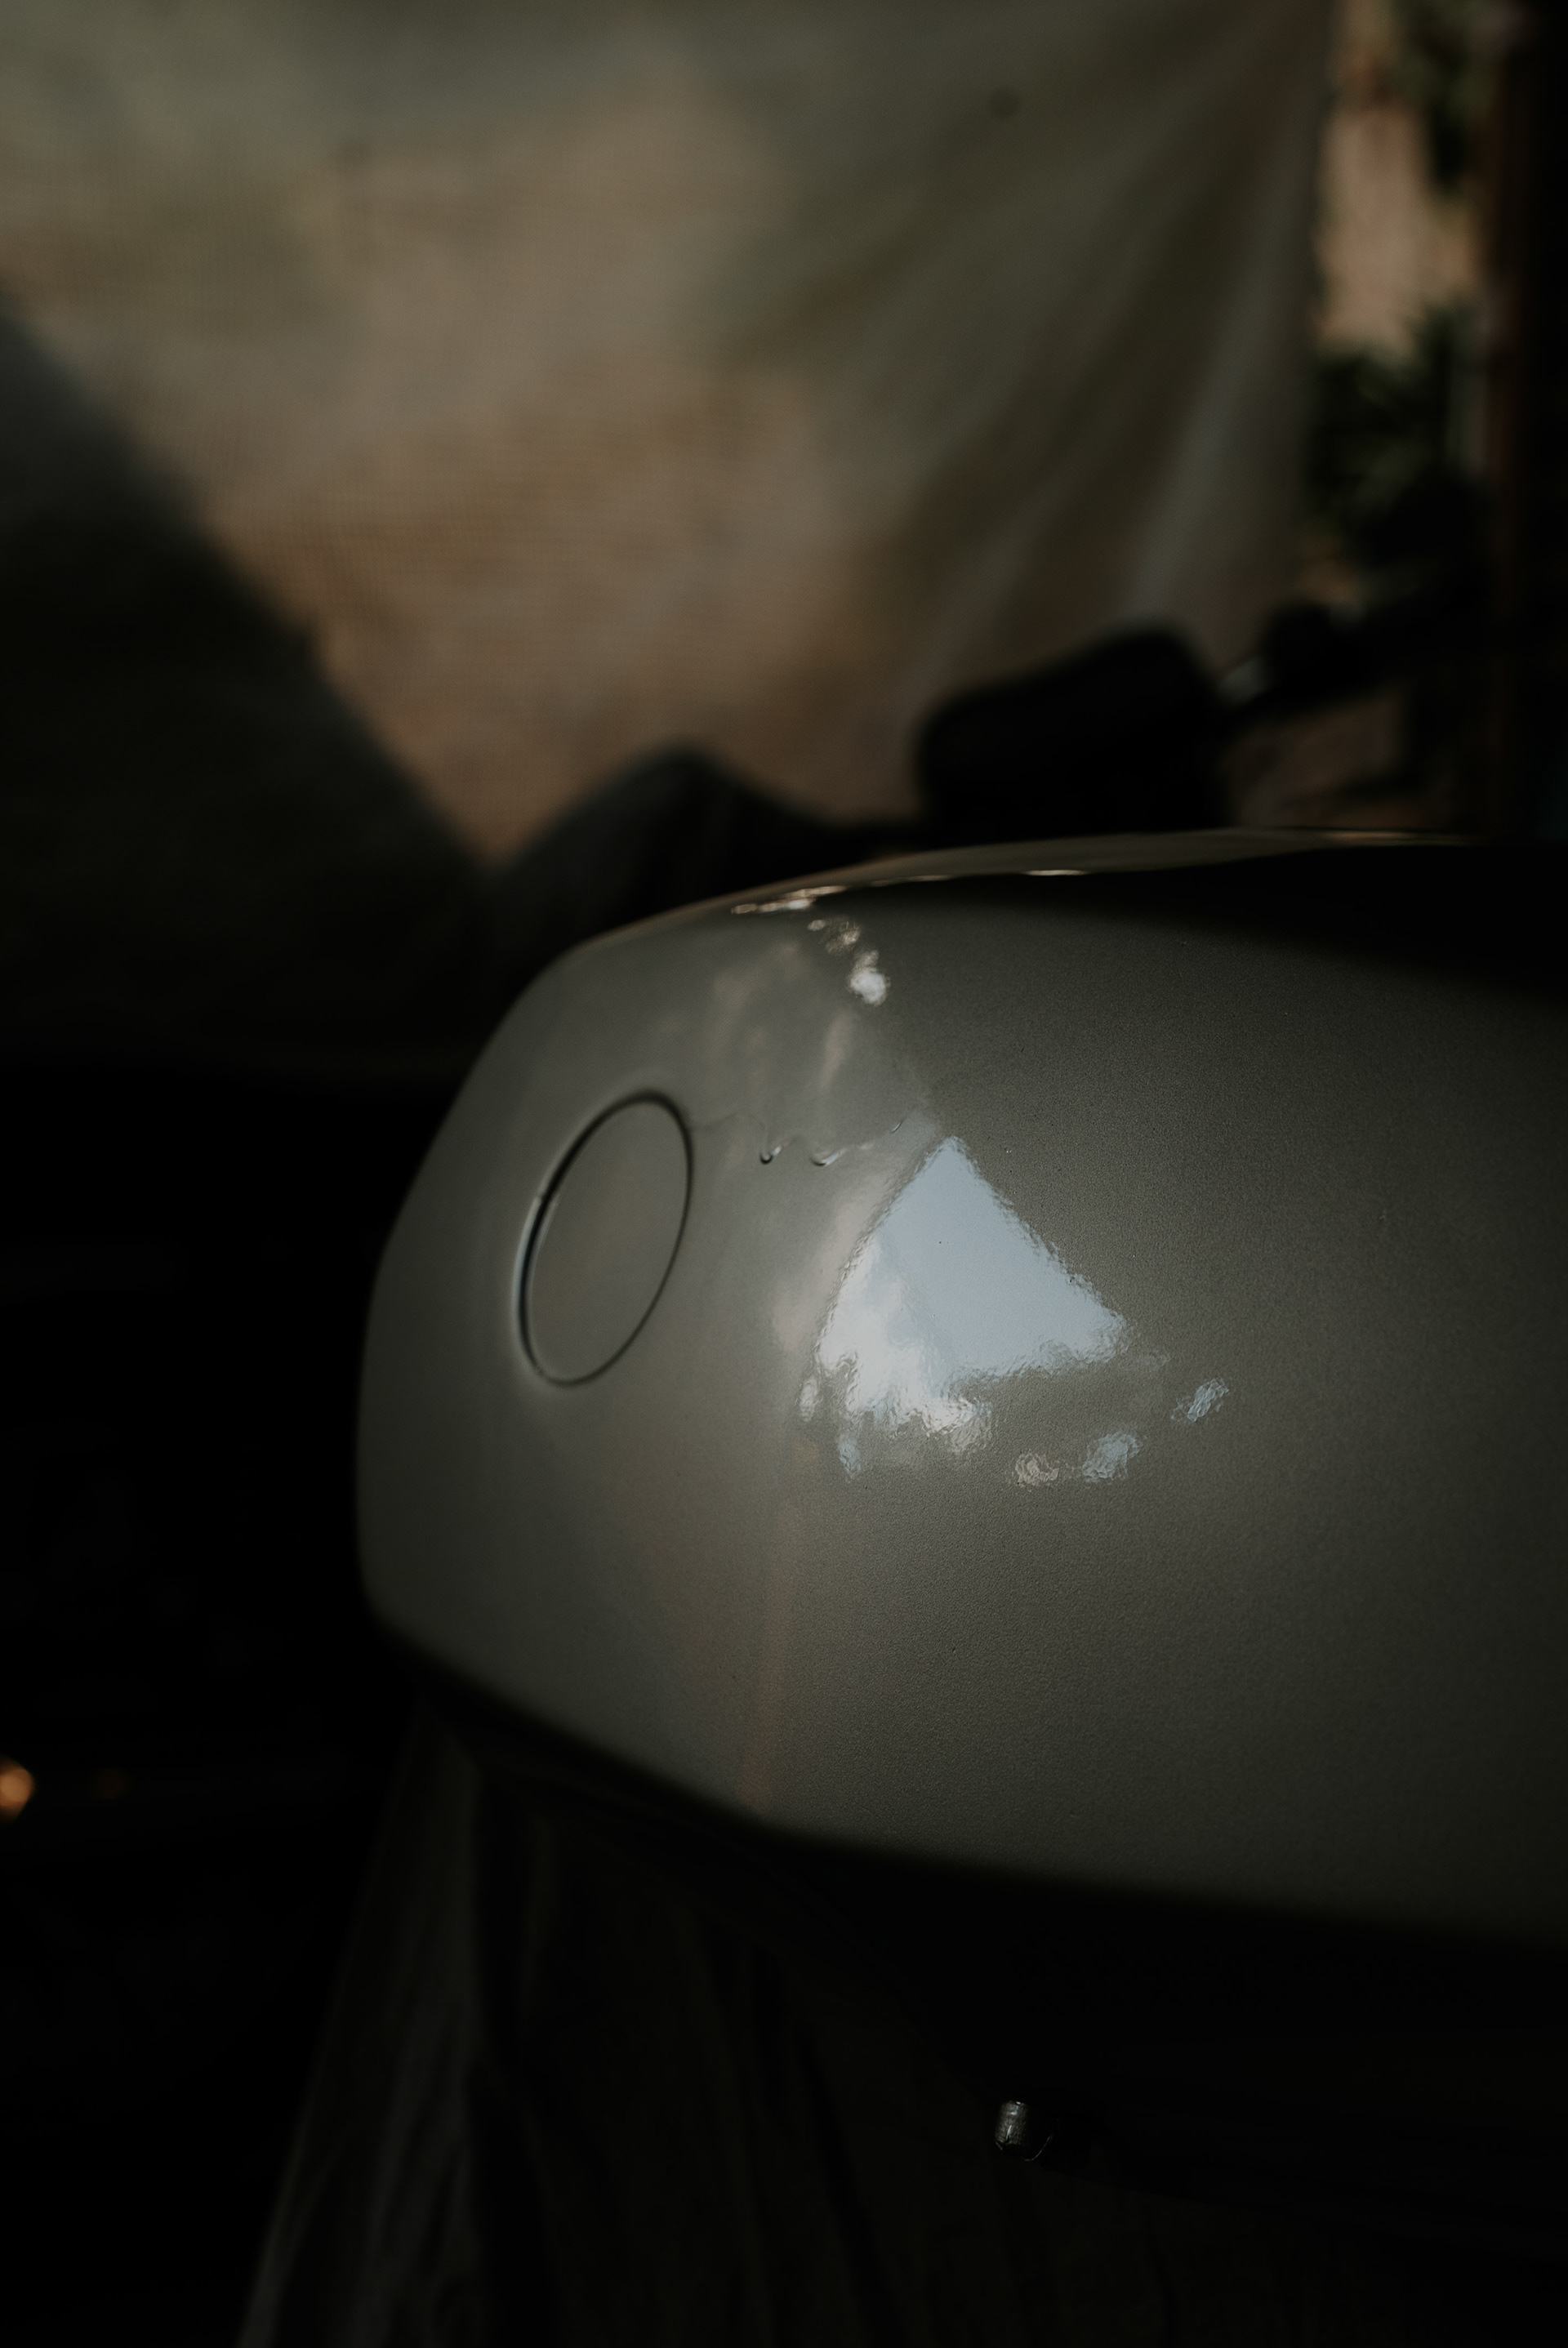
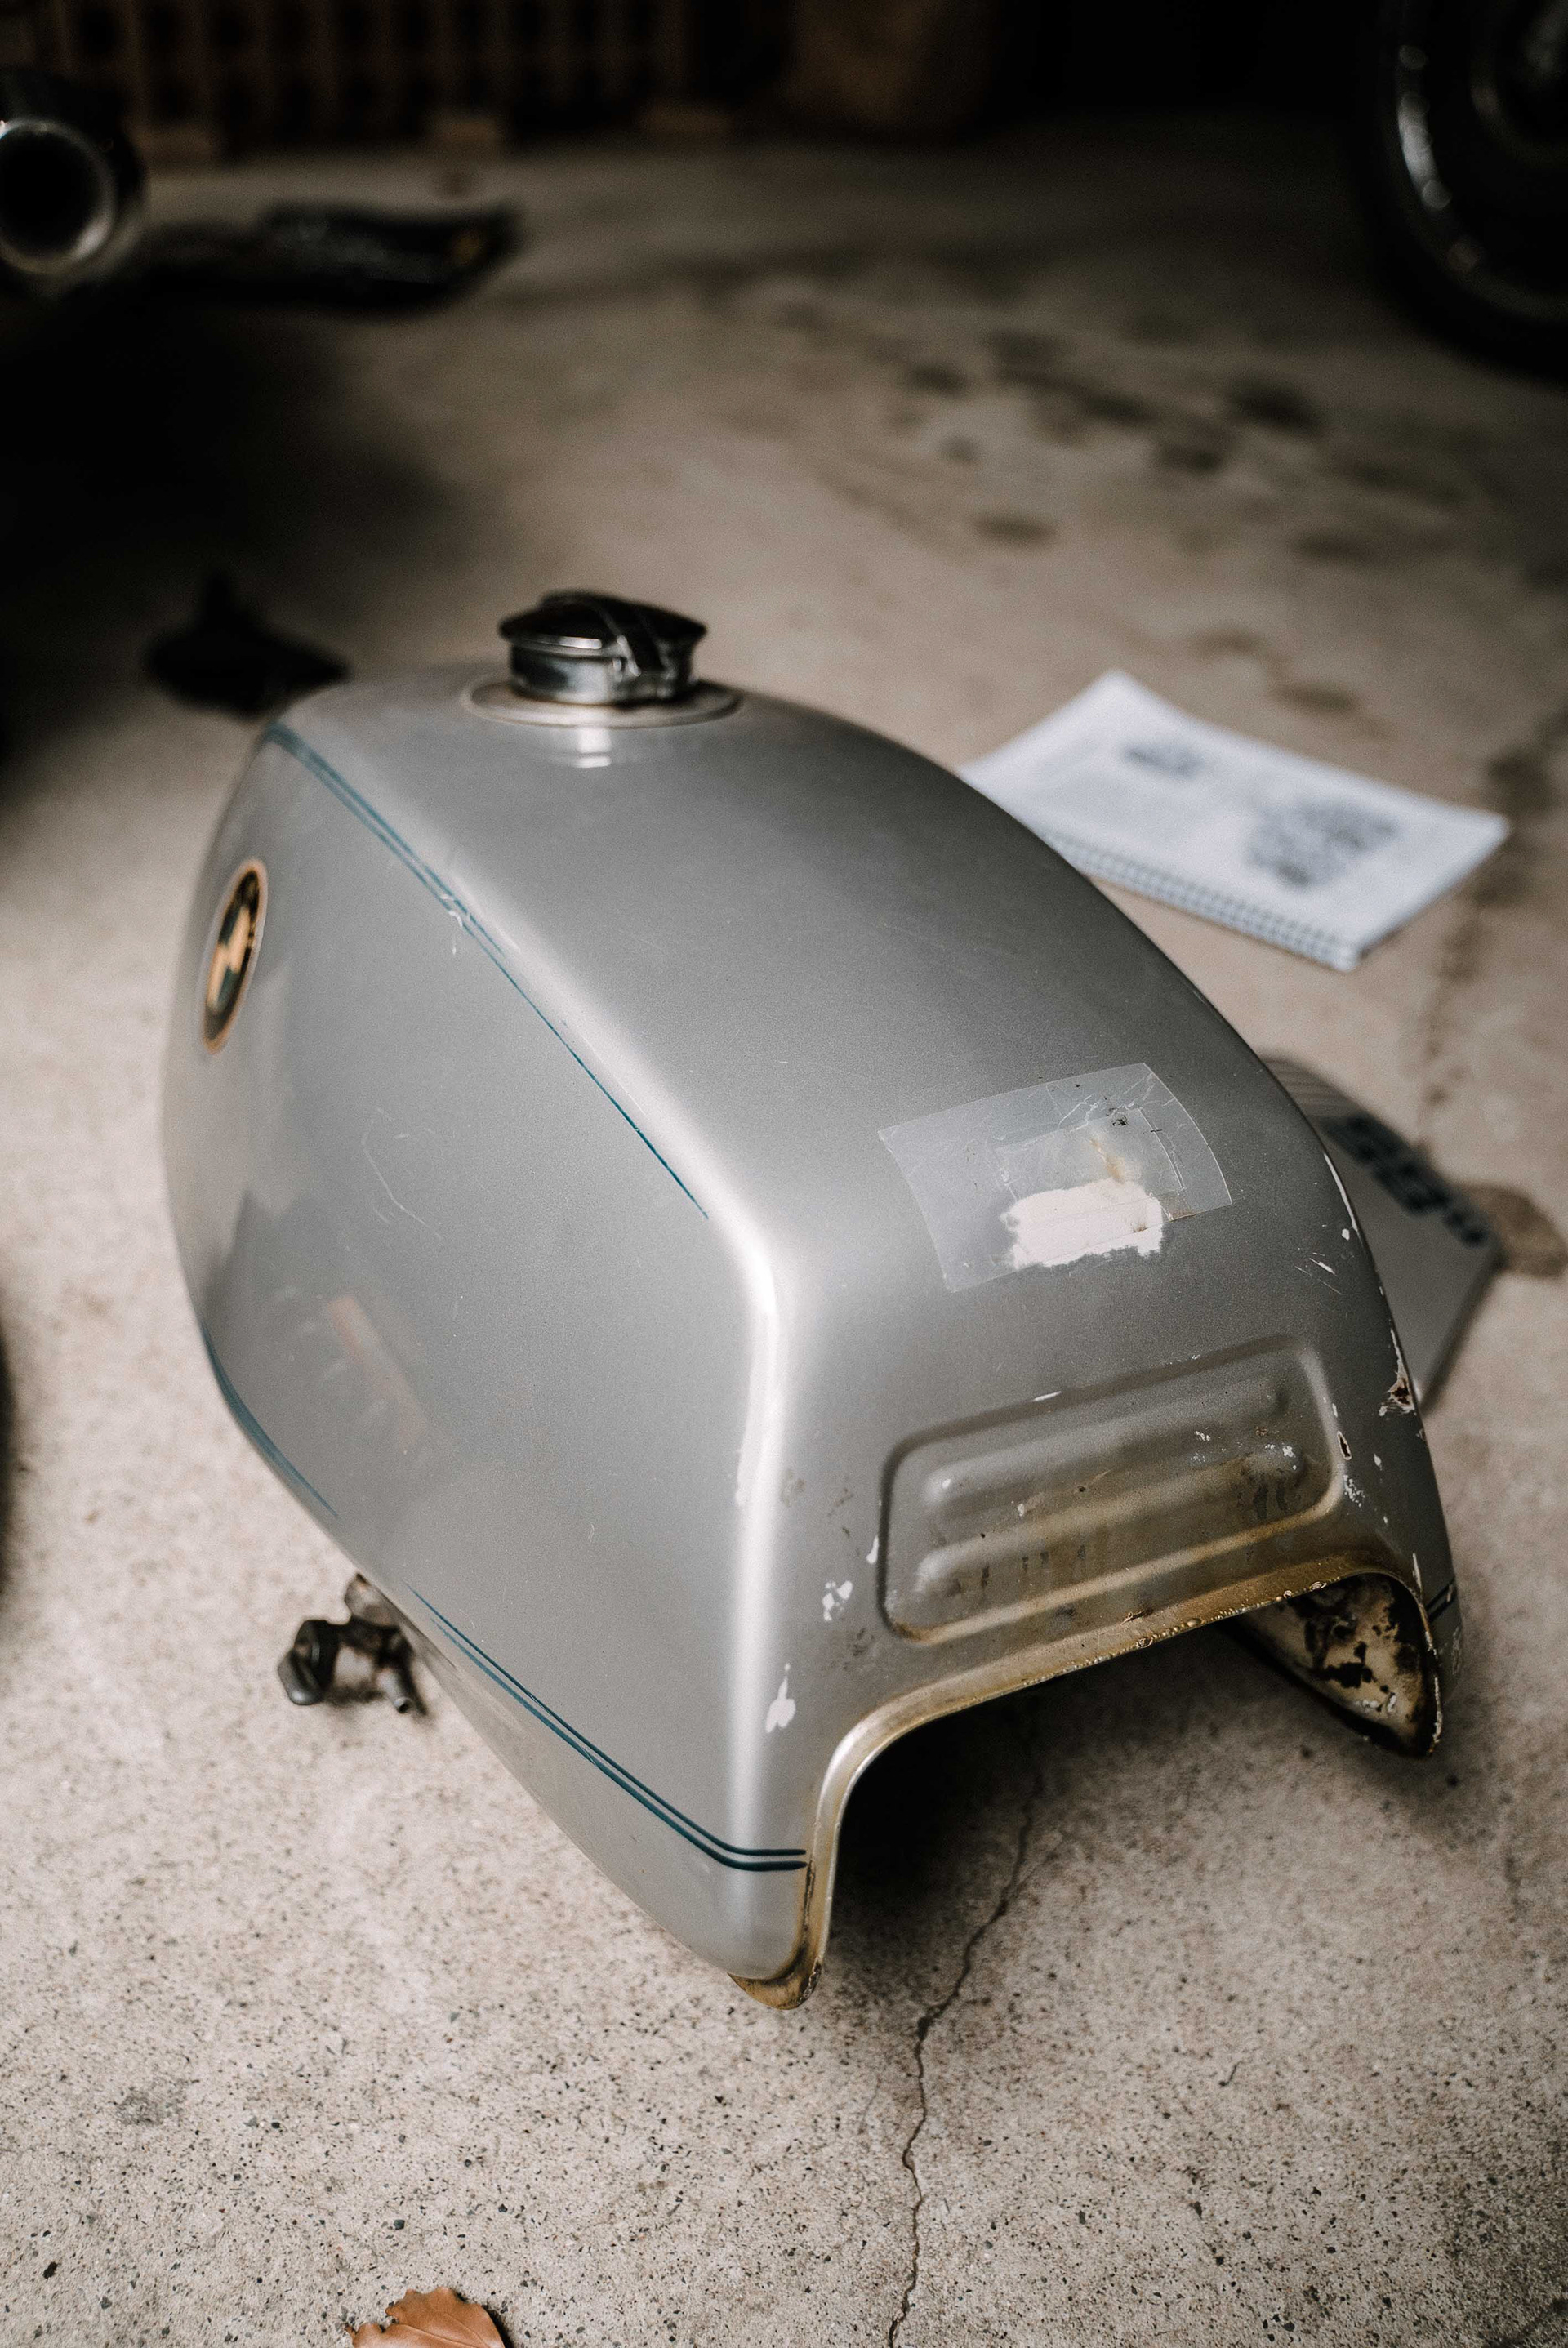
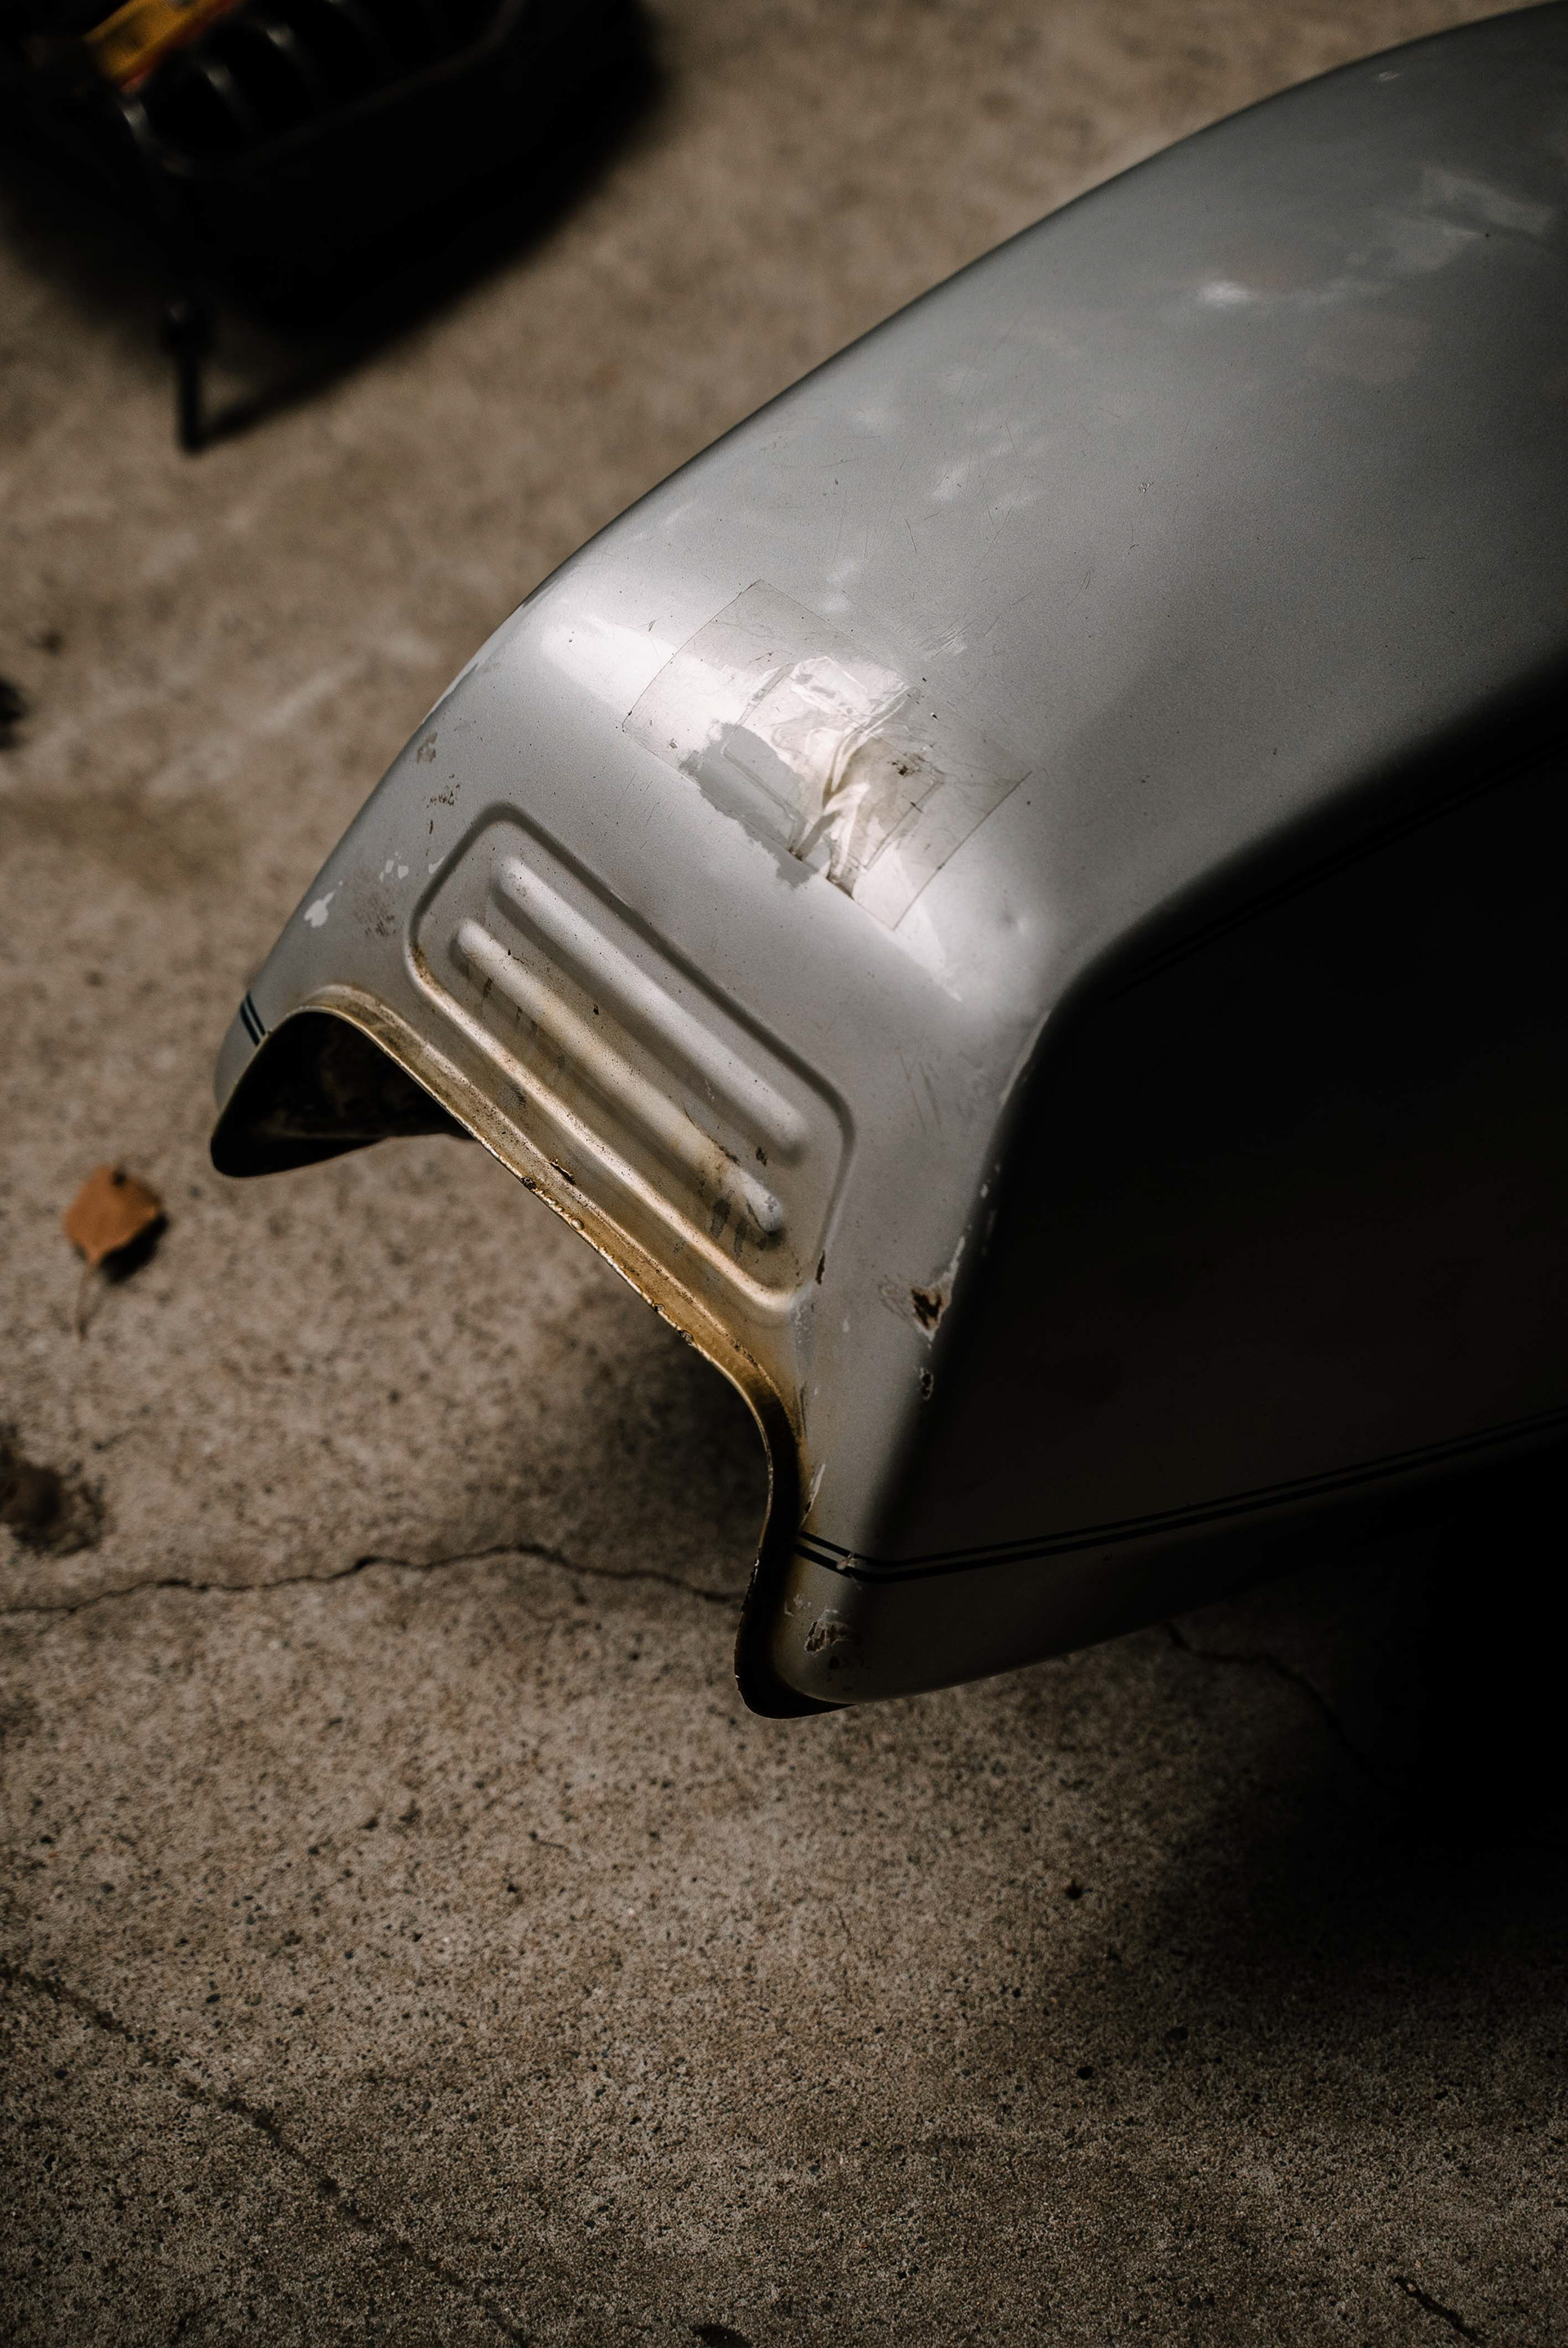
The tank came through quite nicely, aside from a few imperfections and one big run. The choice of the earlier metallic Polaris silver over the original flat silver was wise. It's got far more personality.
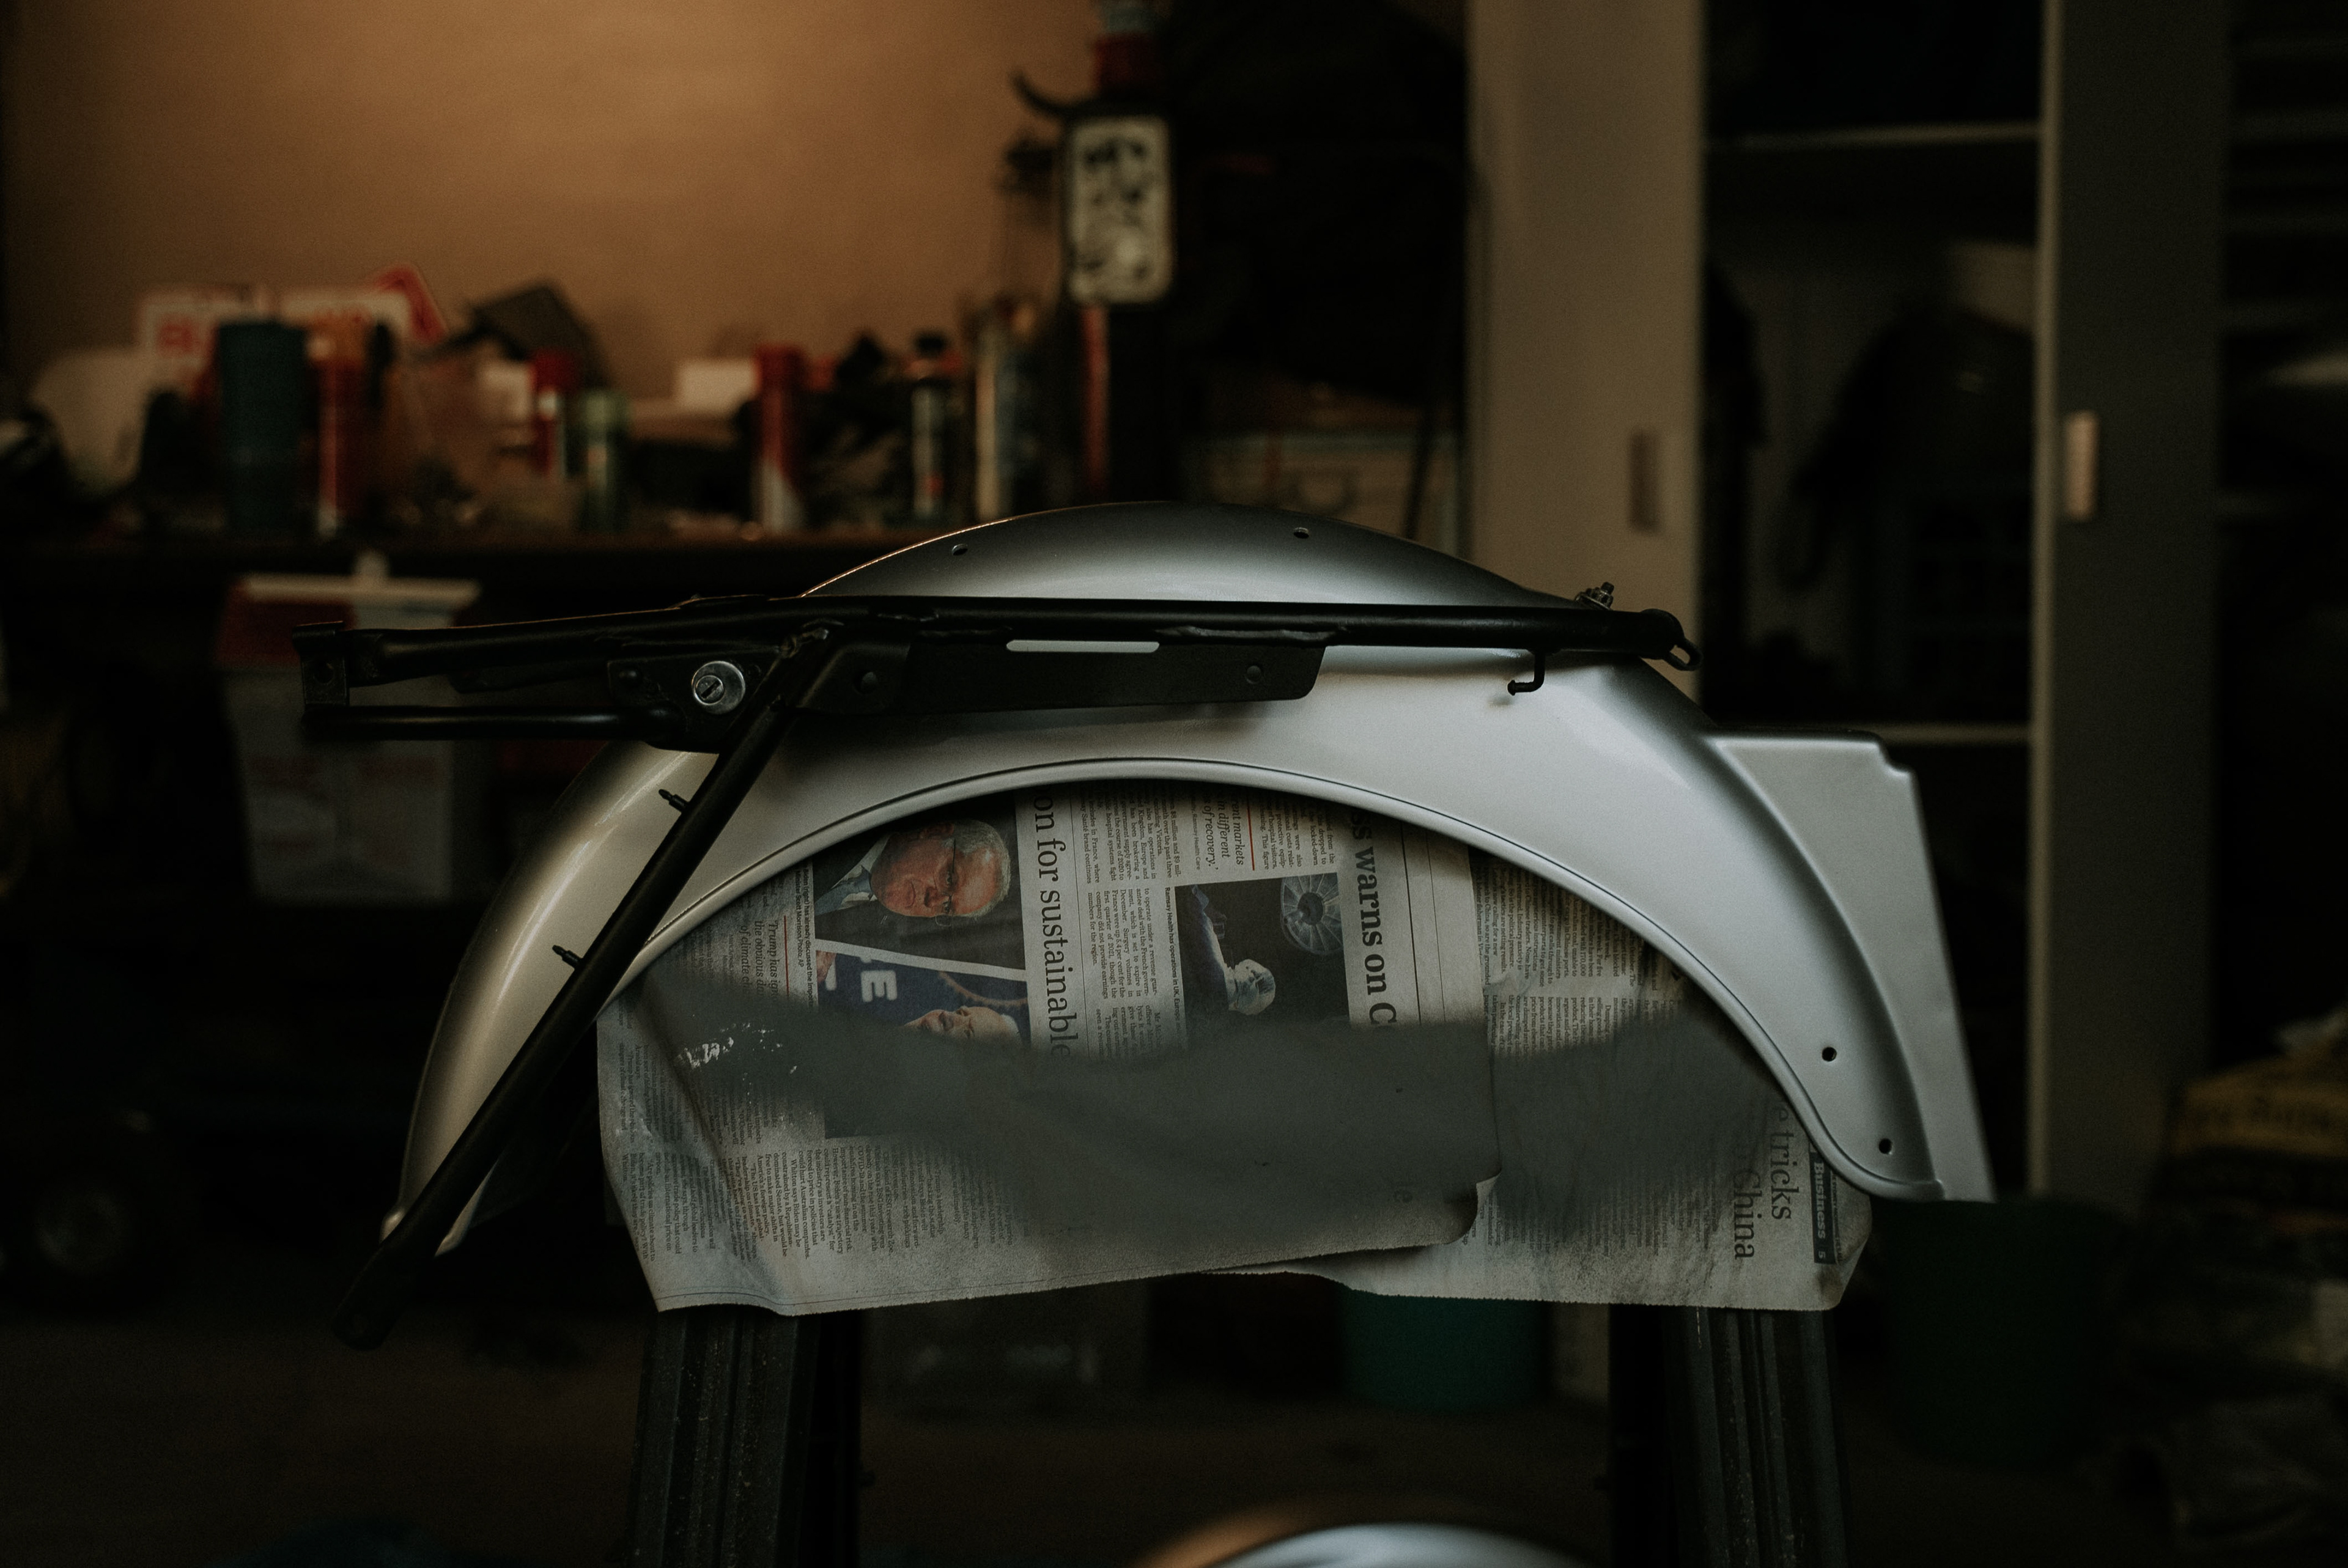
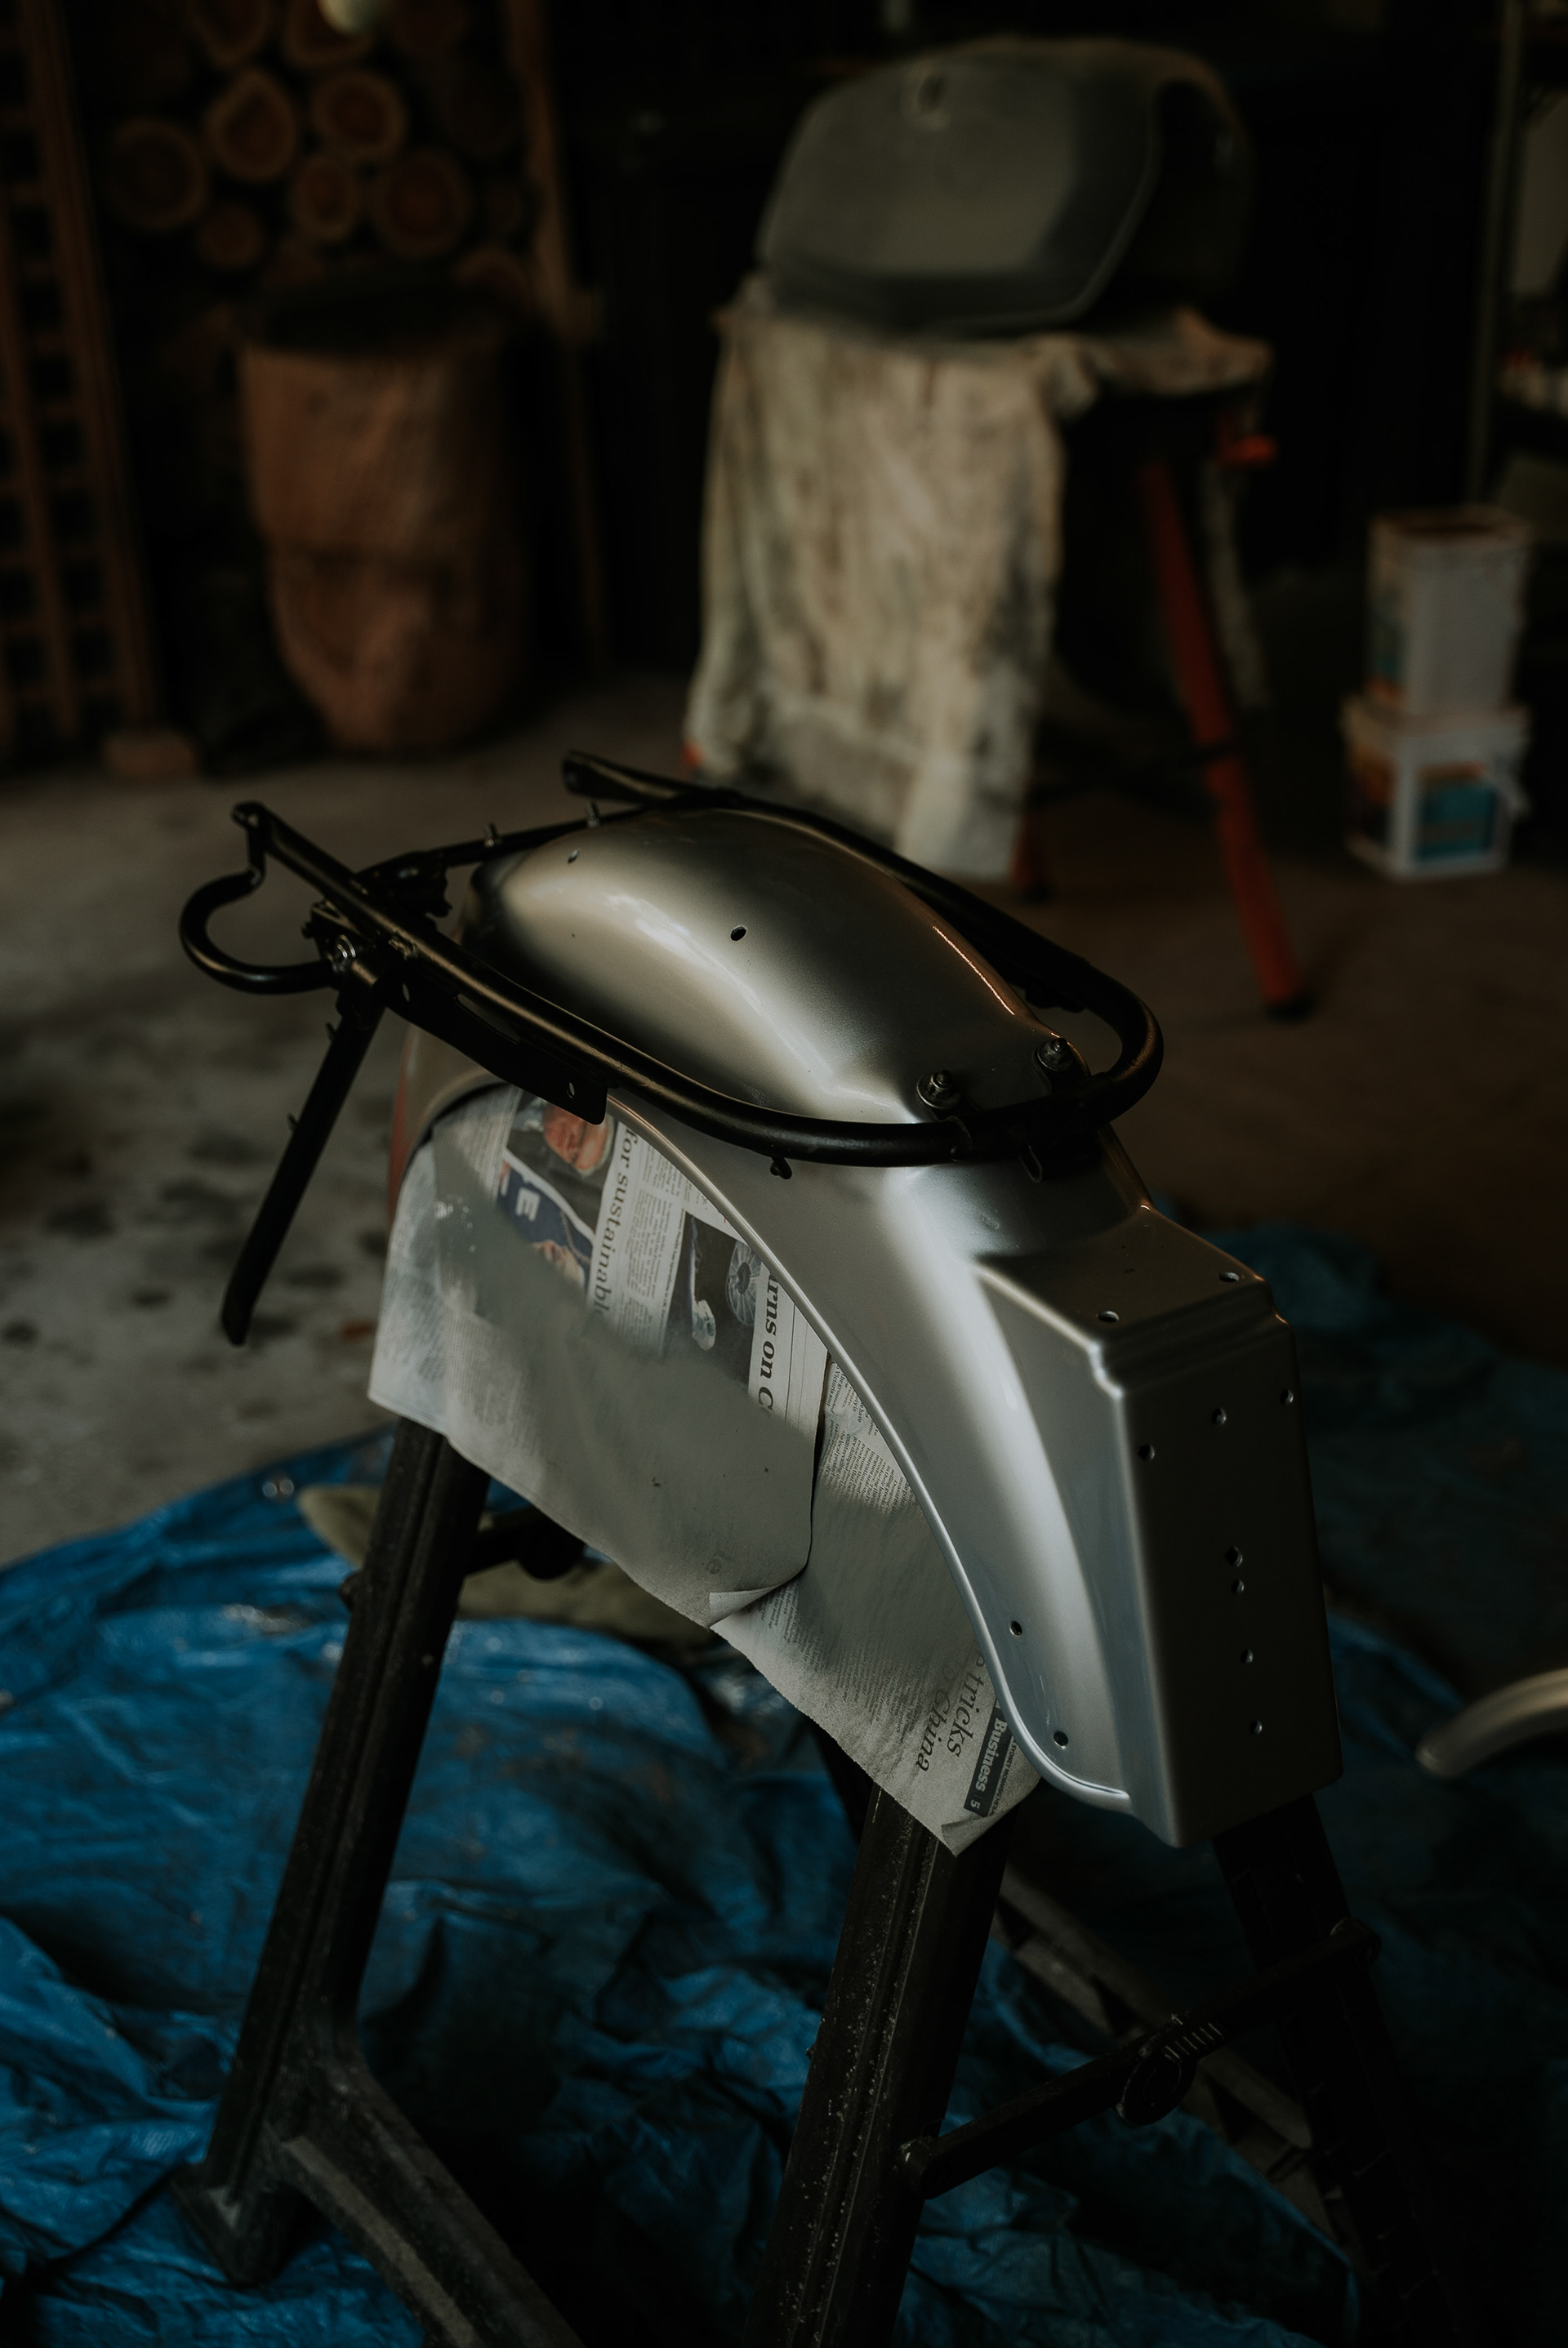
Tested painting on the rear guard first, and did the subframe while I had it off too. Looks fresh! Much sharper than the original matte plastic.
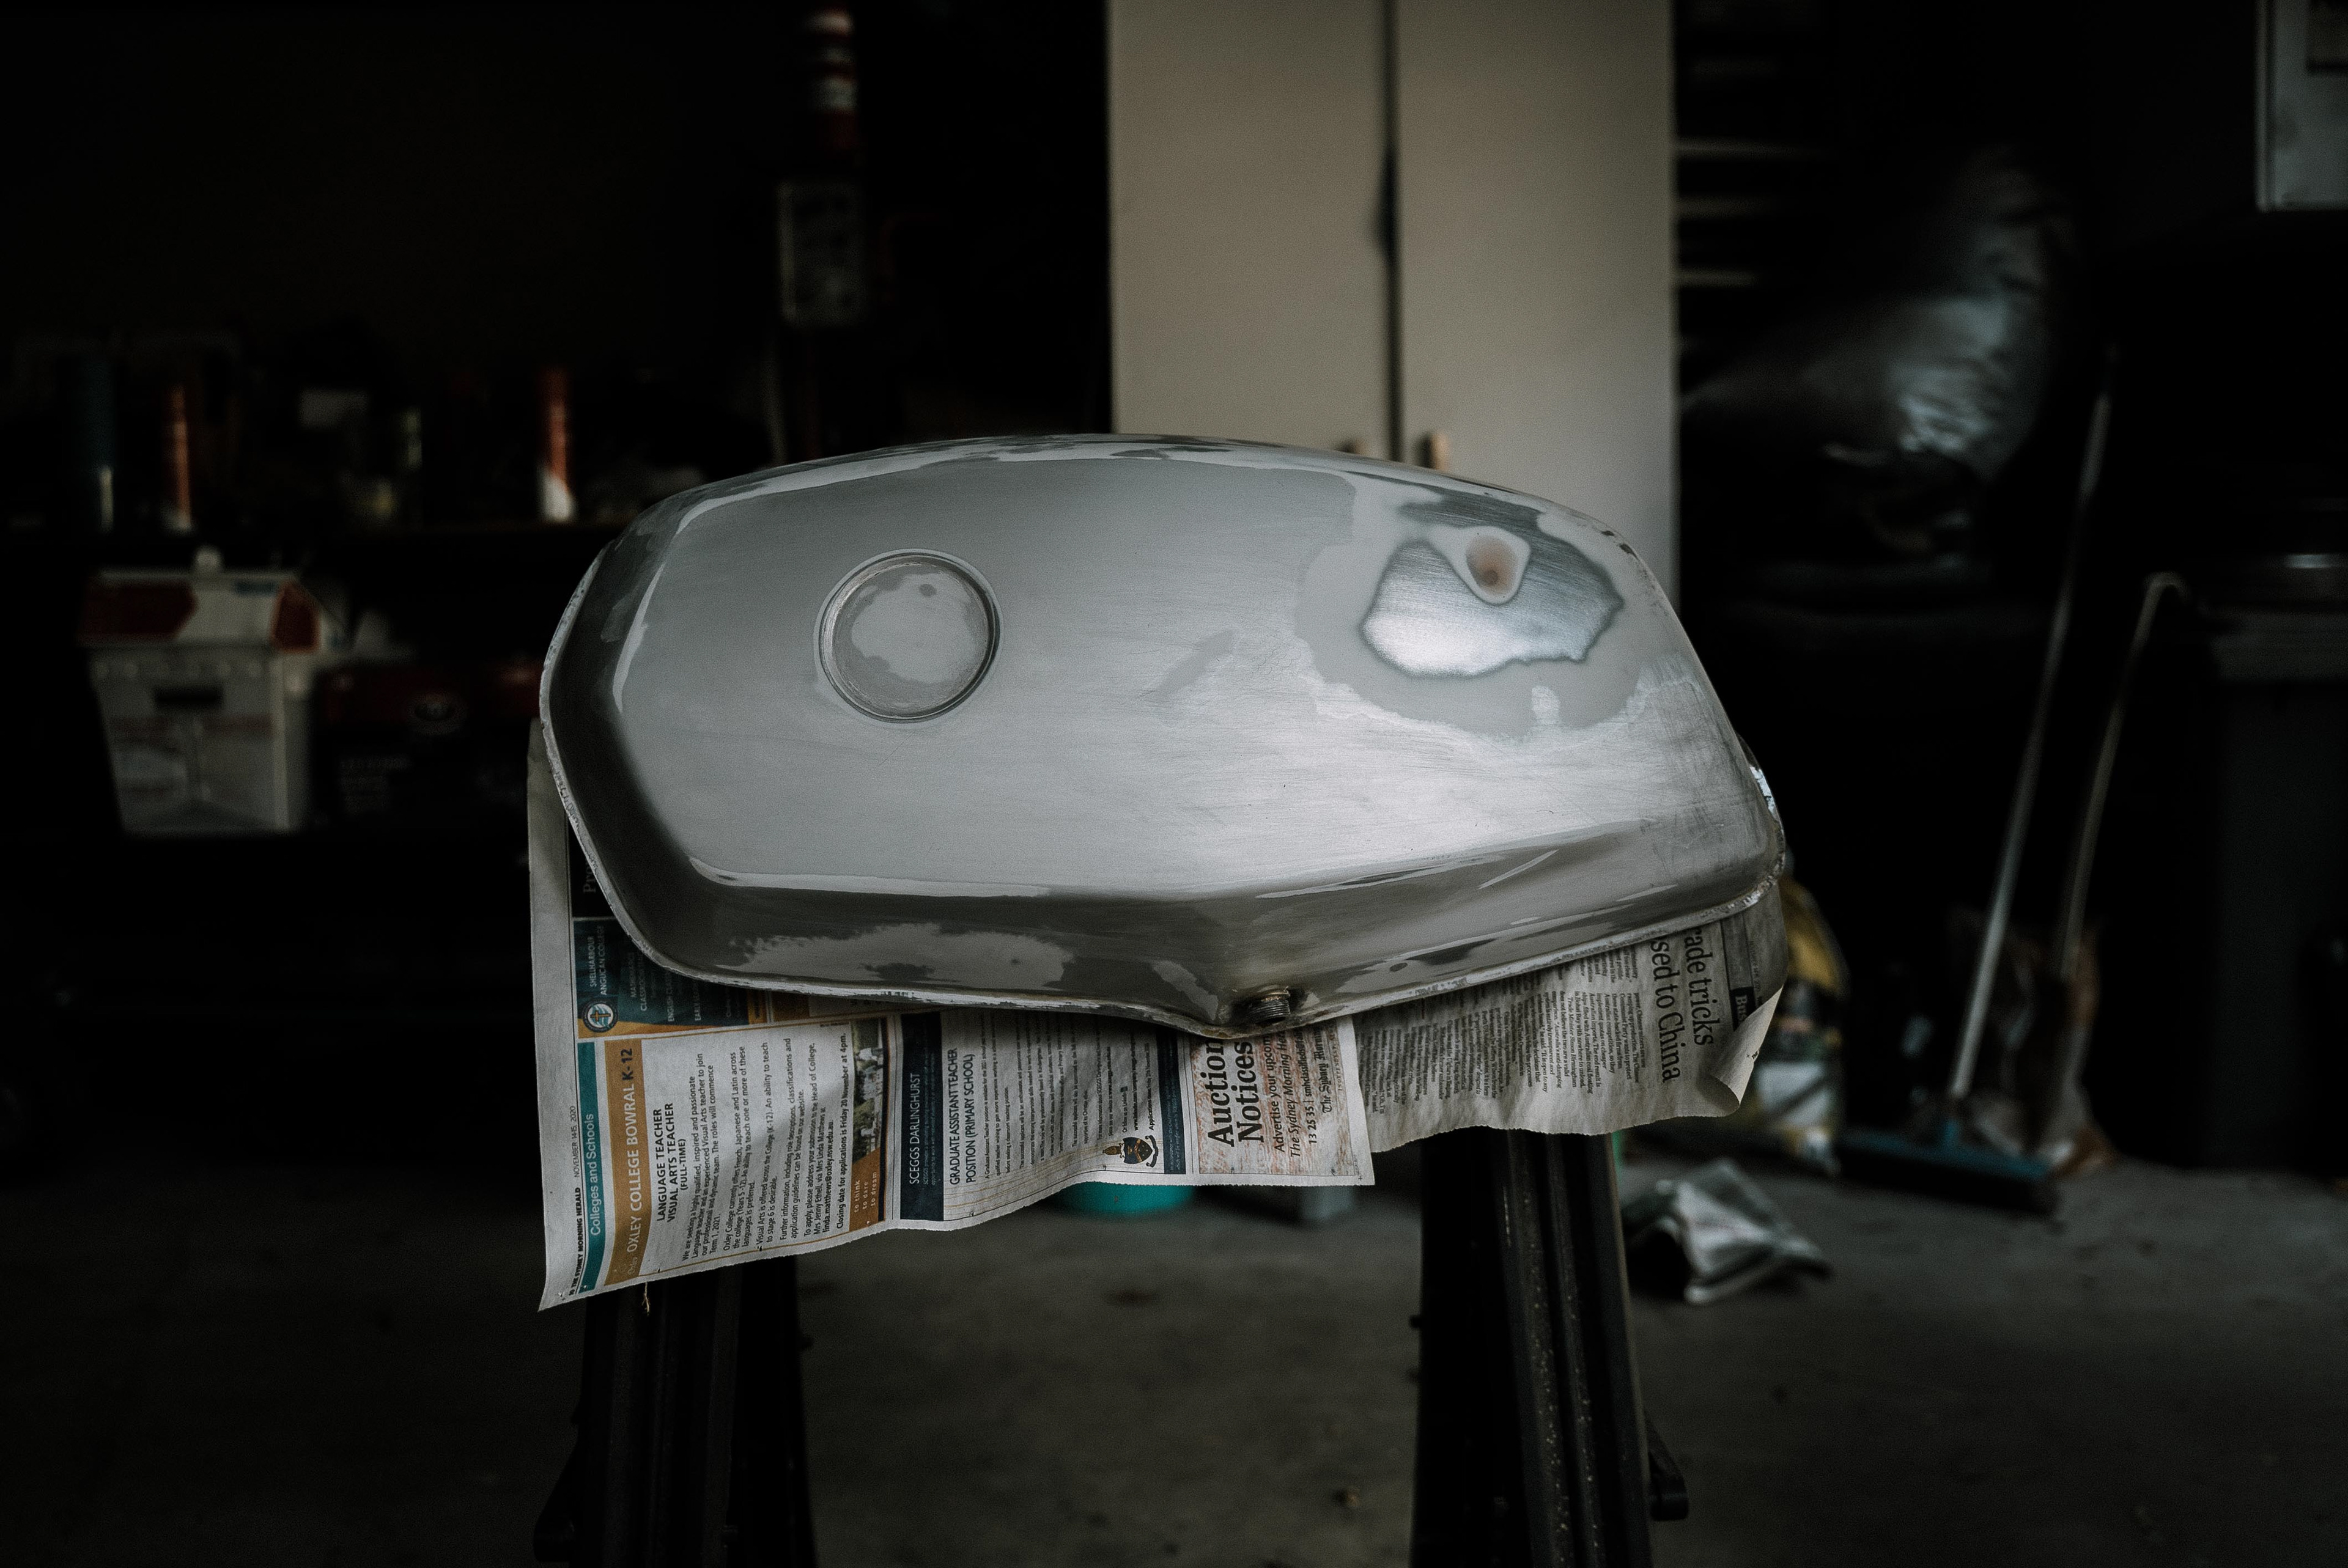
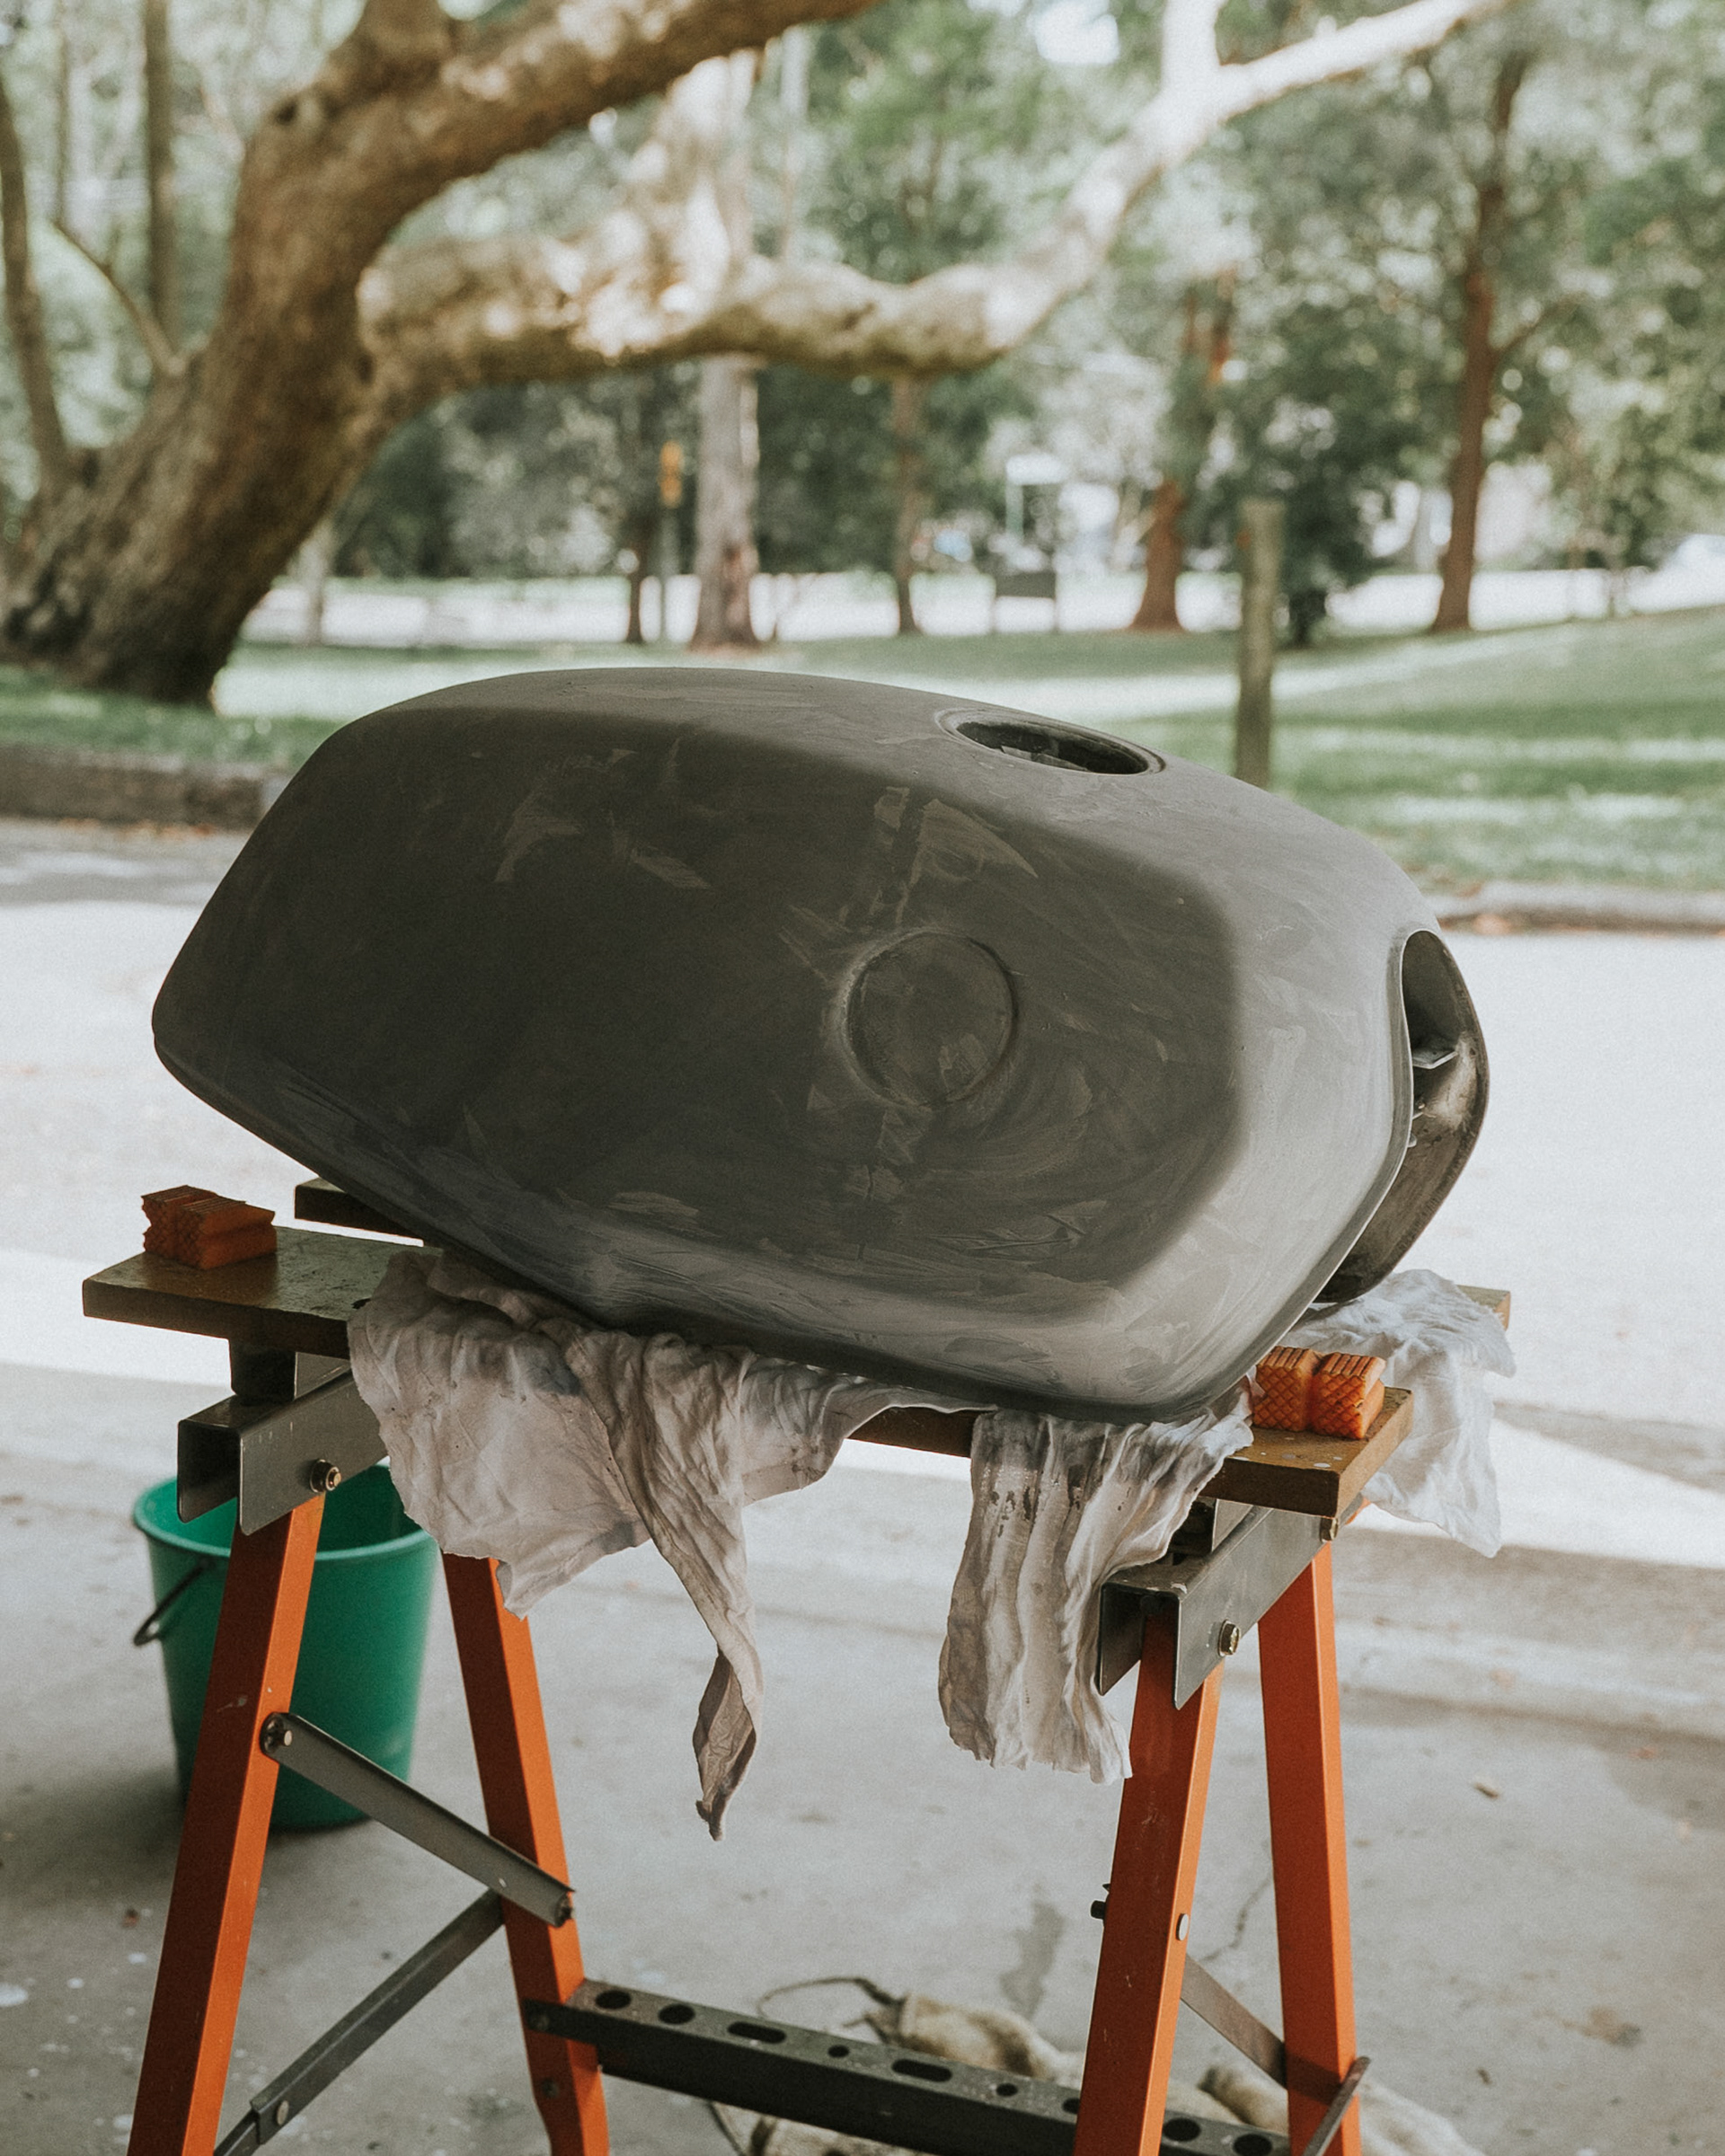
In restoring the tank, I quickly learnt that sanding and blocking steel is substantially more challenging than fibreglass. If I were to do this again, I would've picked up a decent body filler for flattening. The one I used was a challenge to shape... but we got there eventually!
I finally decided to take the plunge and repaint! I've stripped the bike, and as these things tend to go, murphy's law finds a way to remind you of its presence.
A pinhole from a belt buckle puncture somehow escalated from something originally solved with tape to the size of a 10c coin slot. I toyed with the idea of learning to weld on this, but the "kaboom" nature of applying serious heat to a petrol tank pushed it beyond my bravery. Instead, James over at Spreadcheese sorted it with a properly done patch.
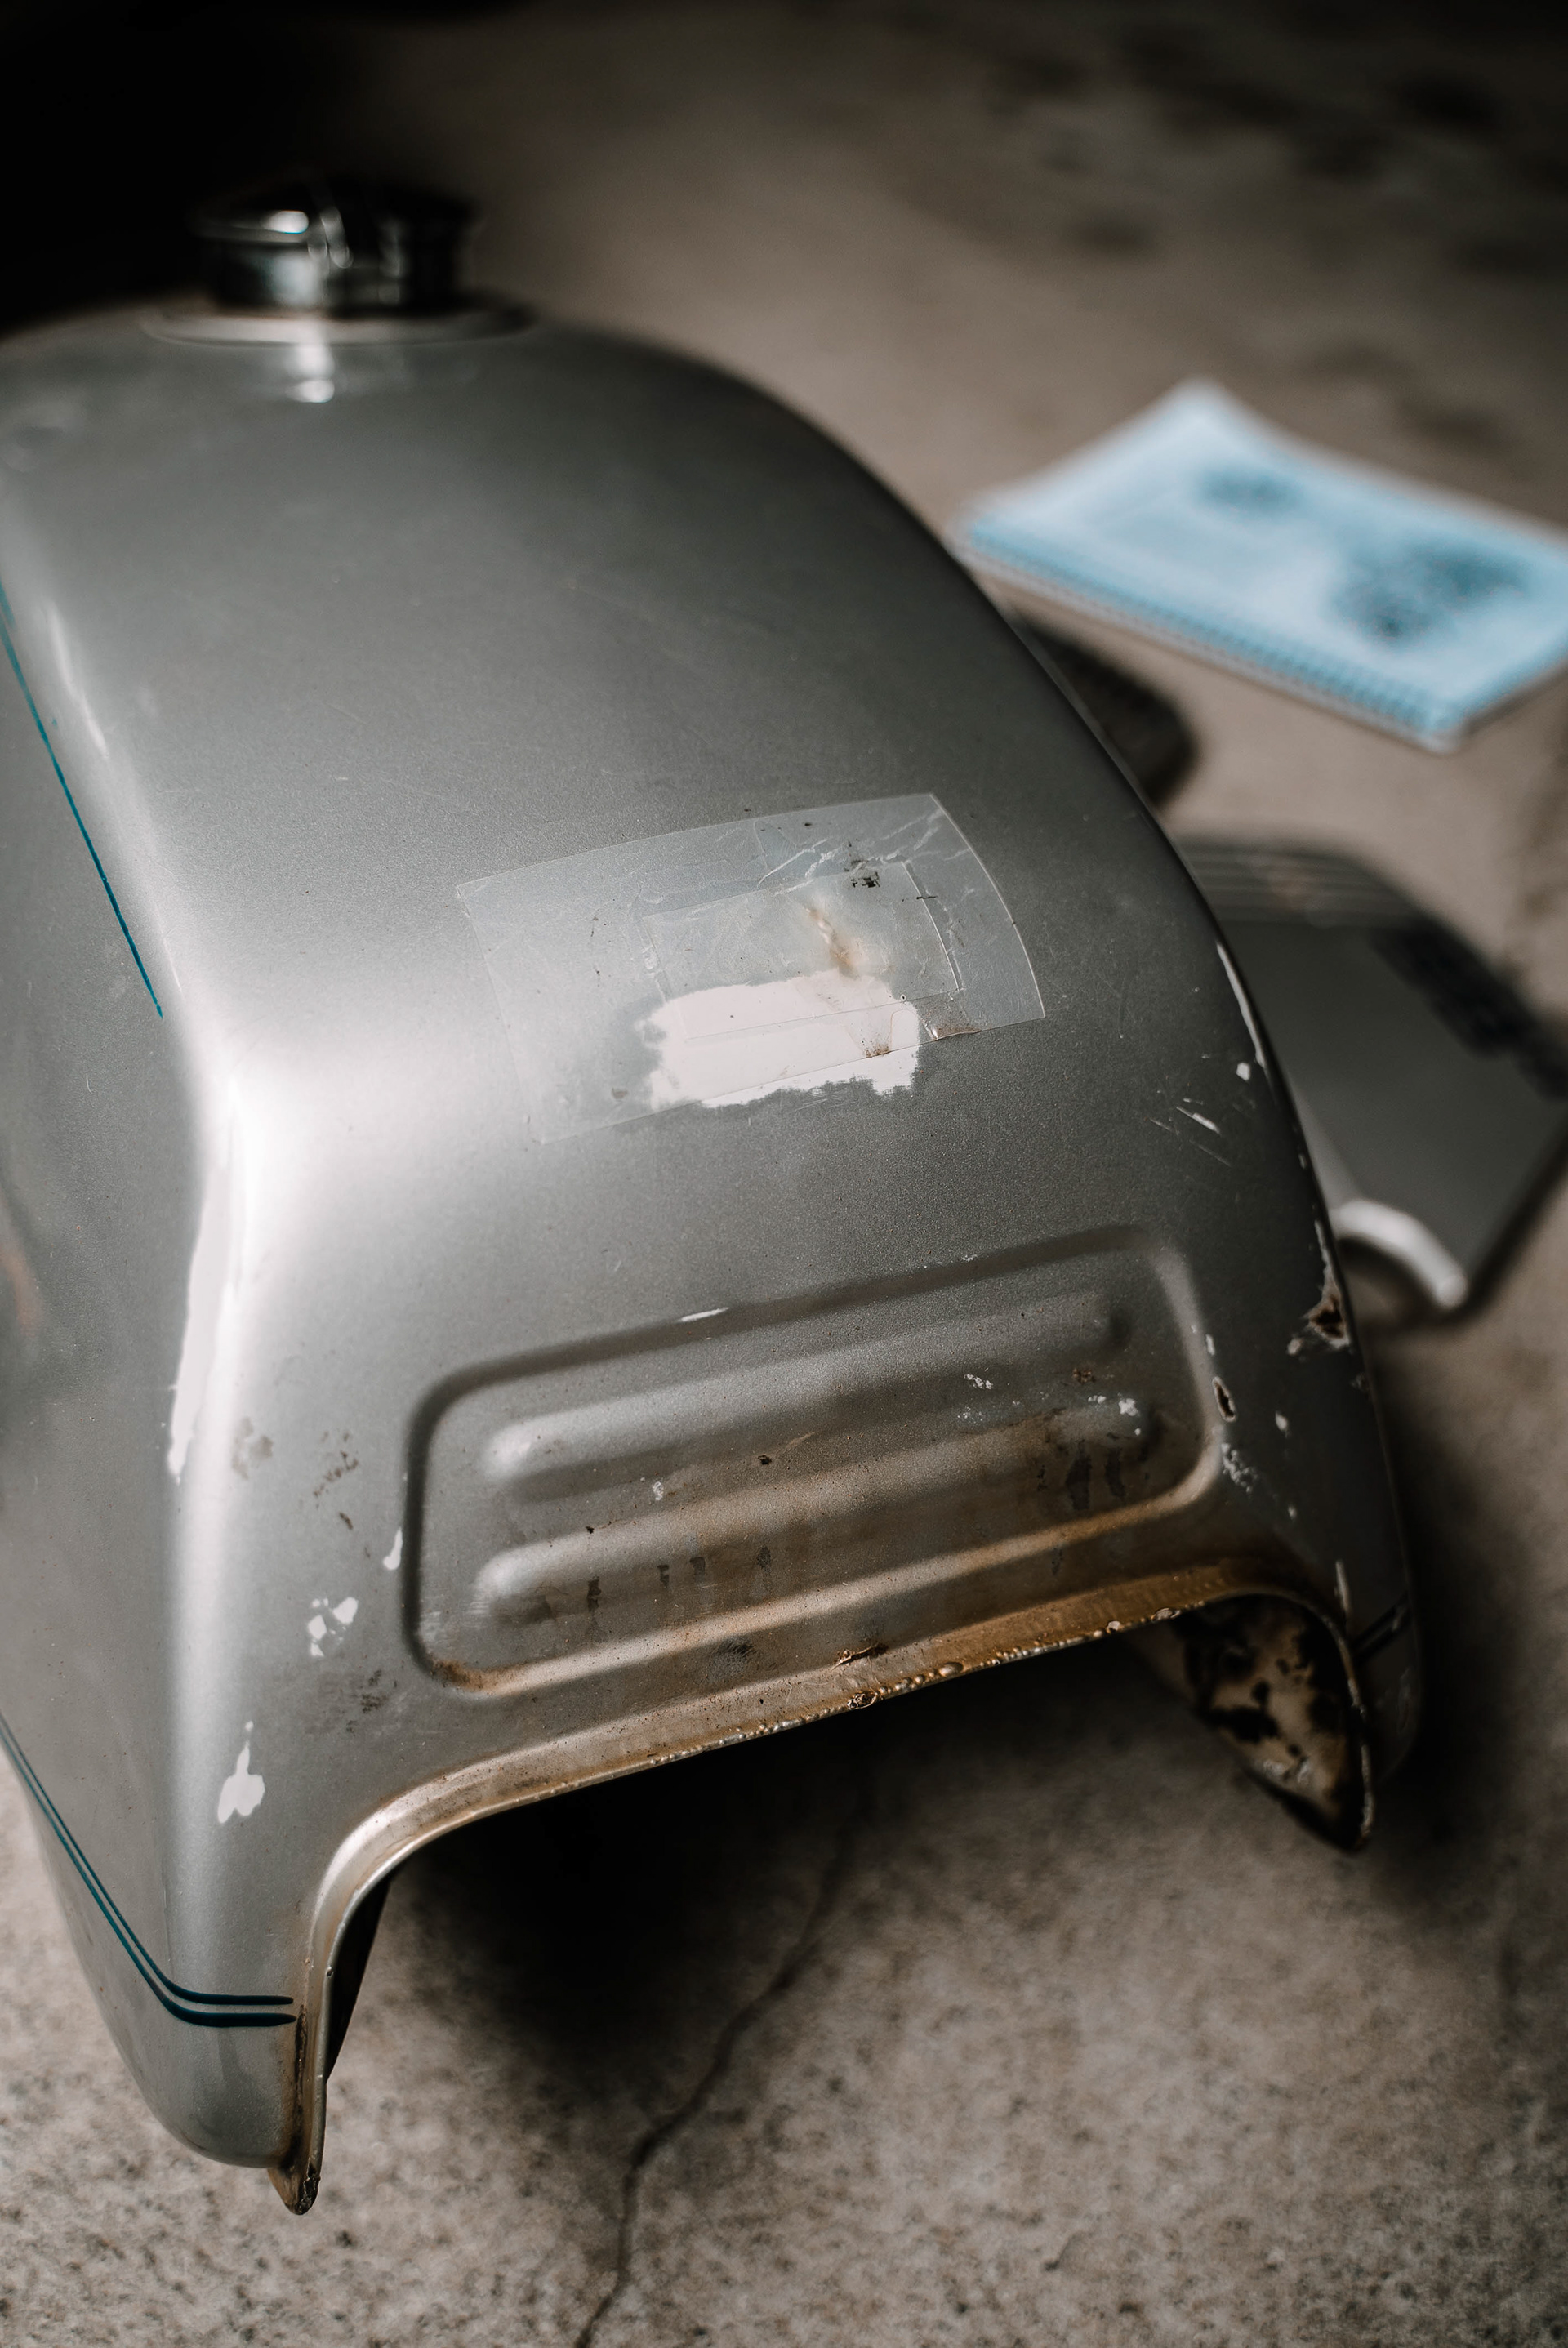
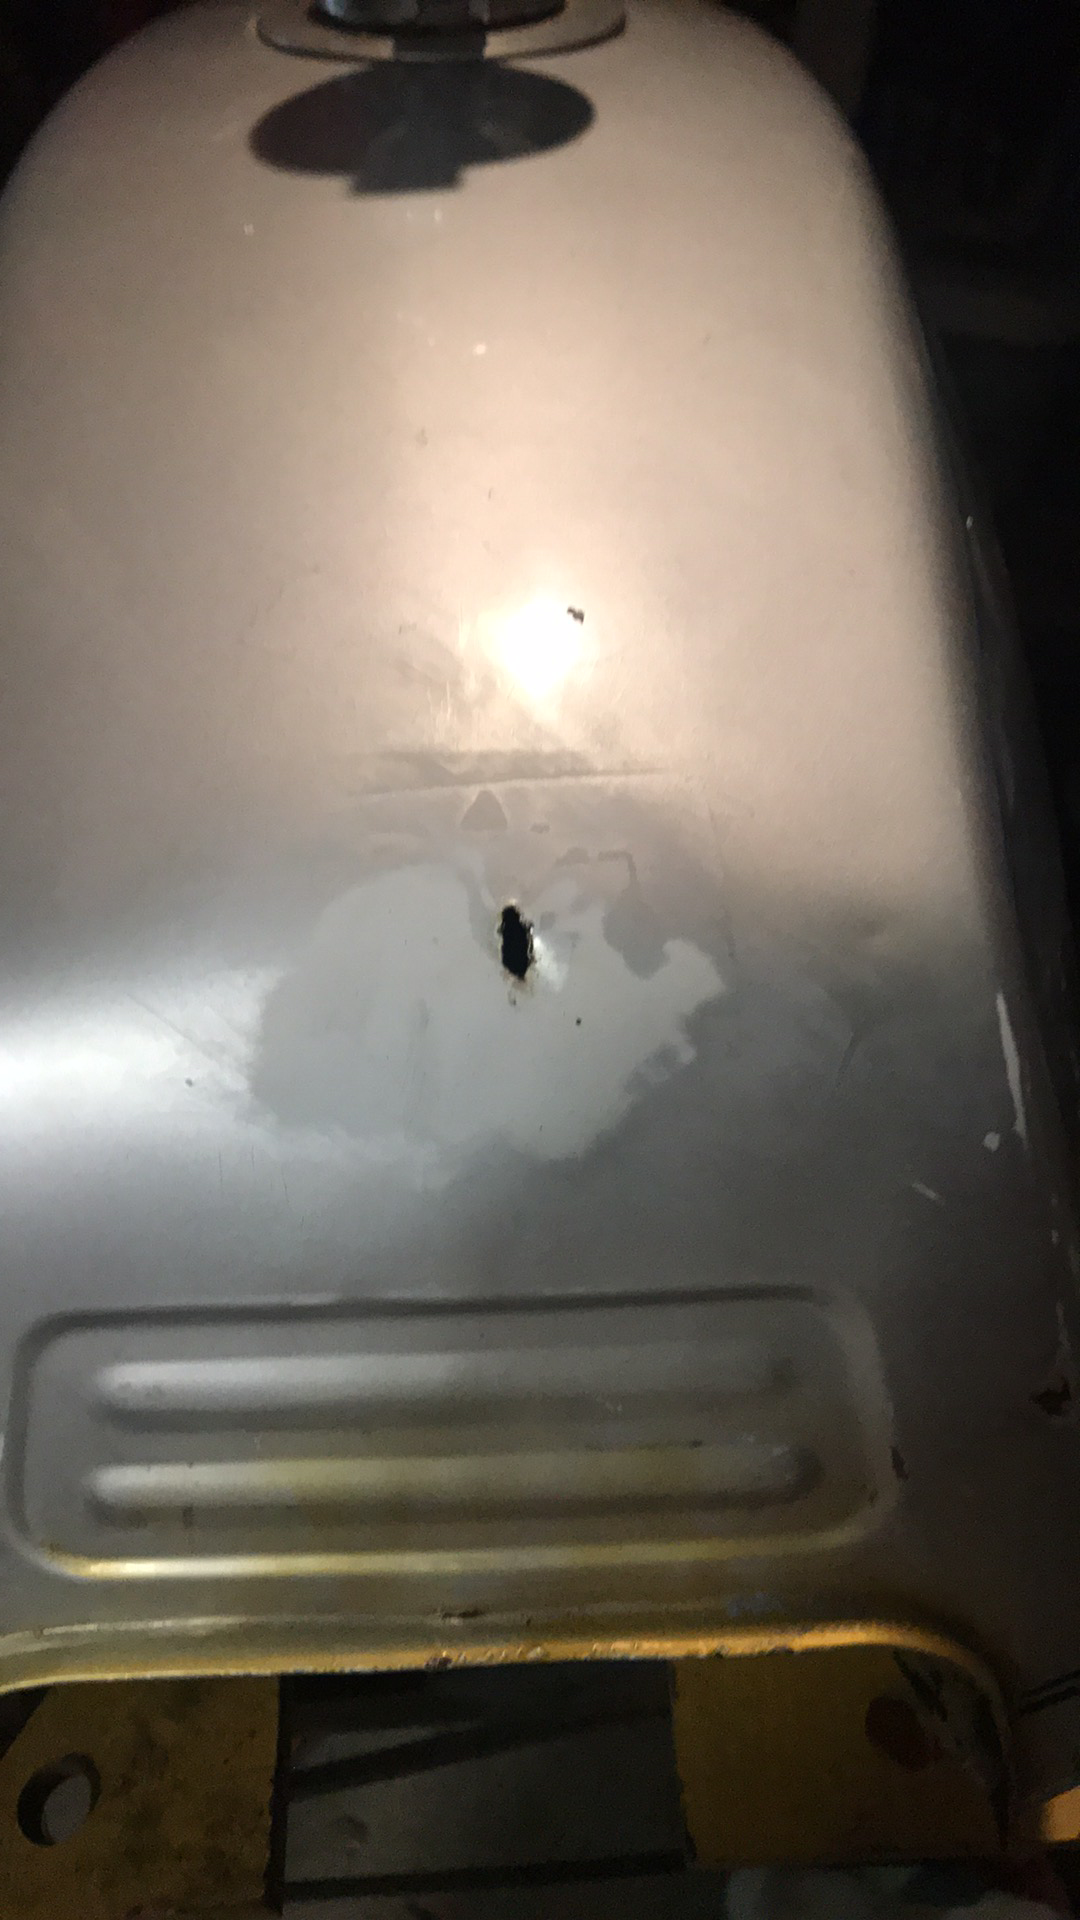
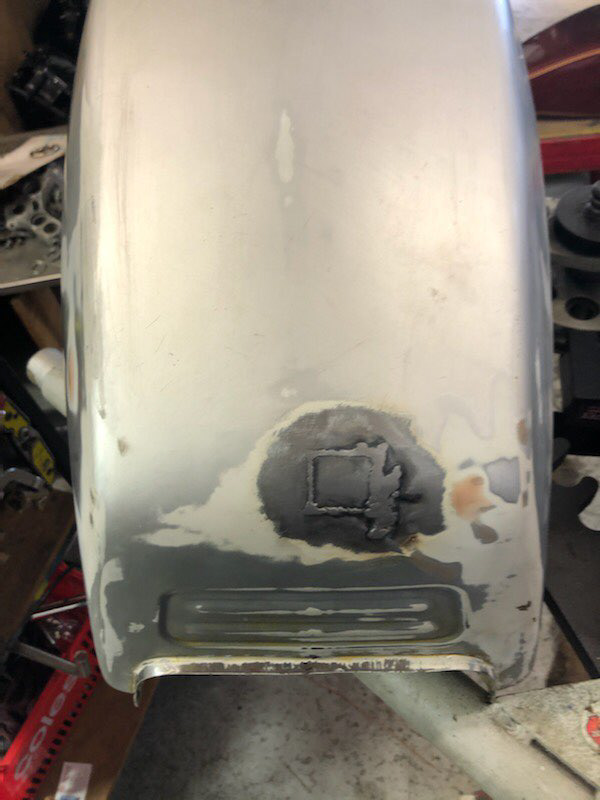
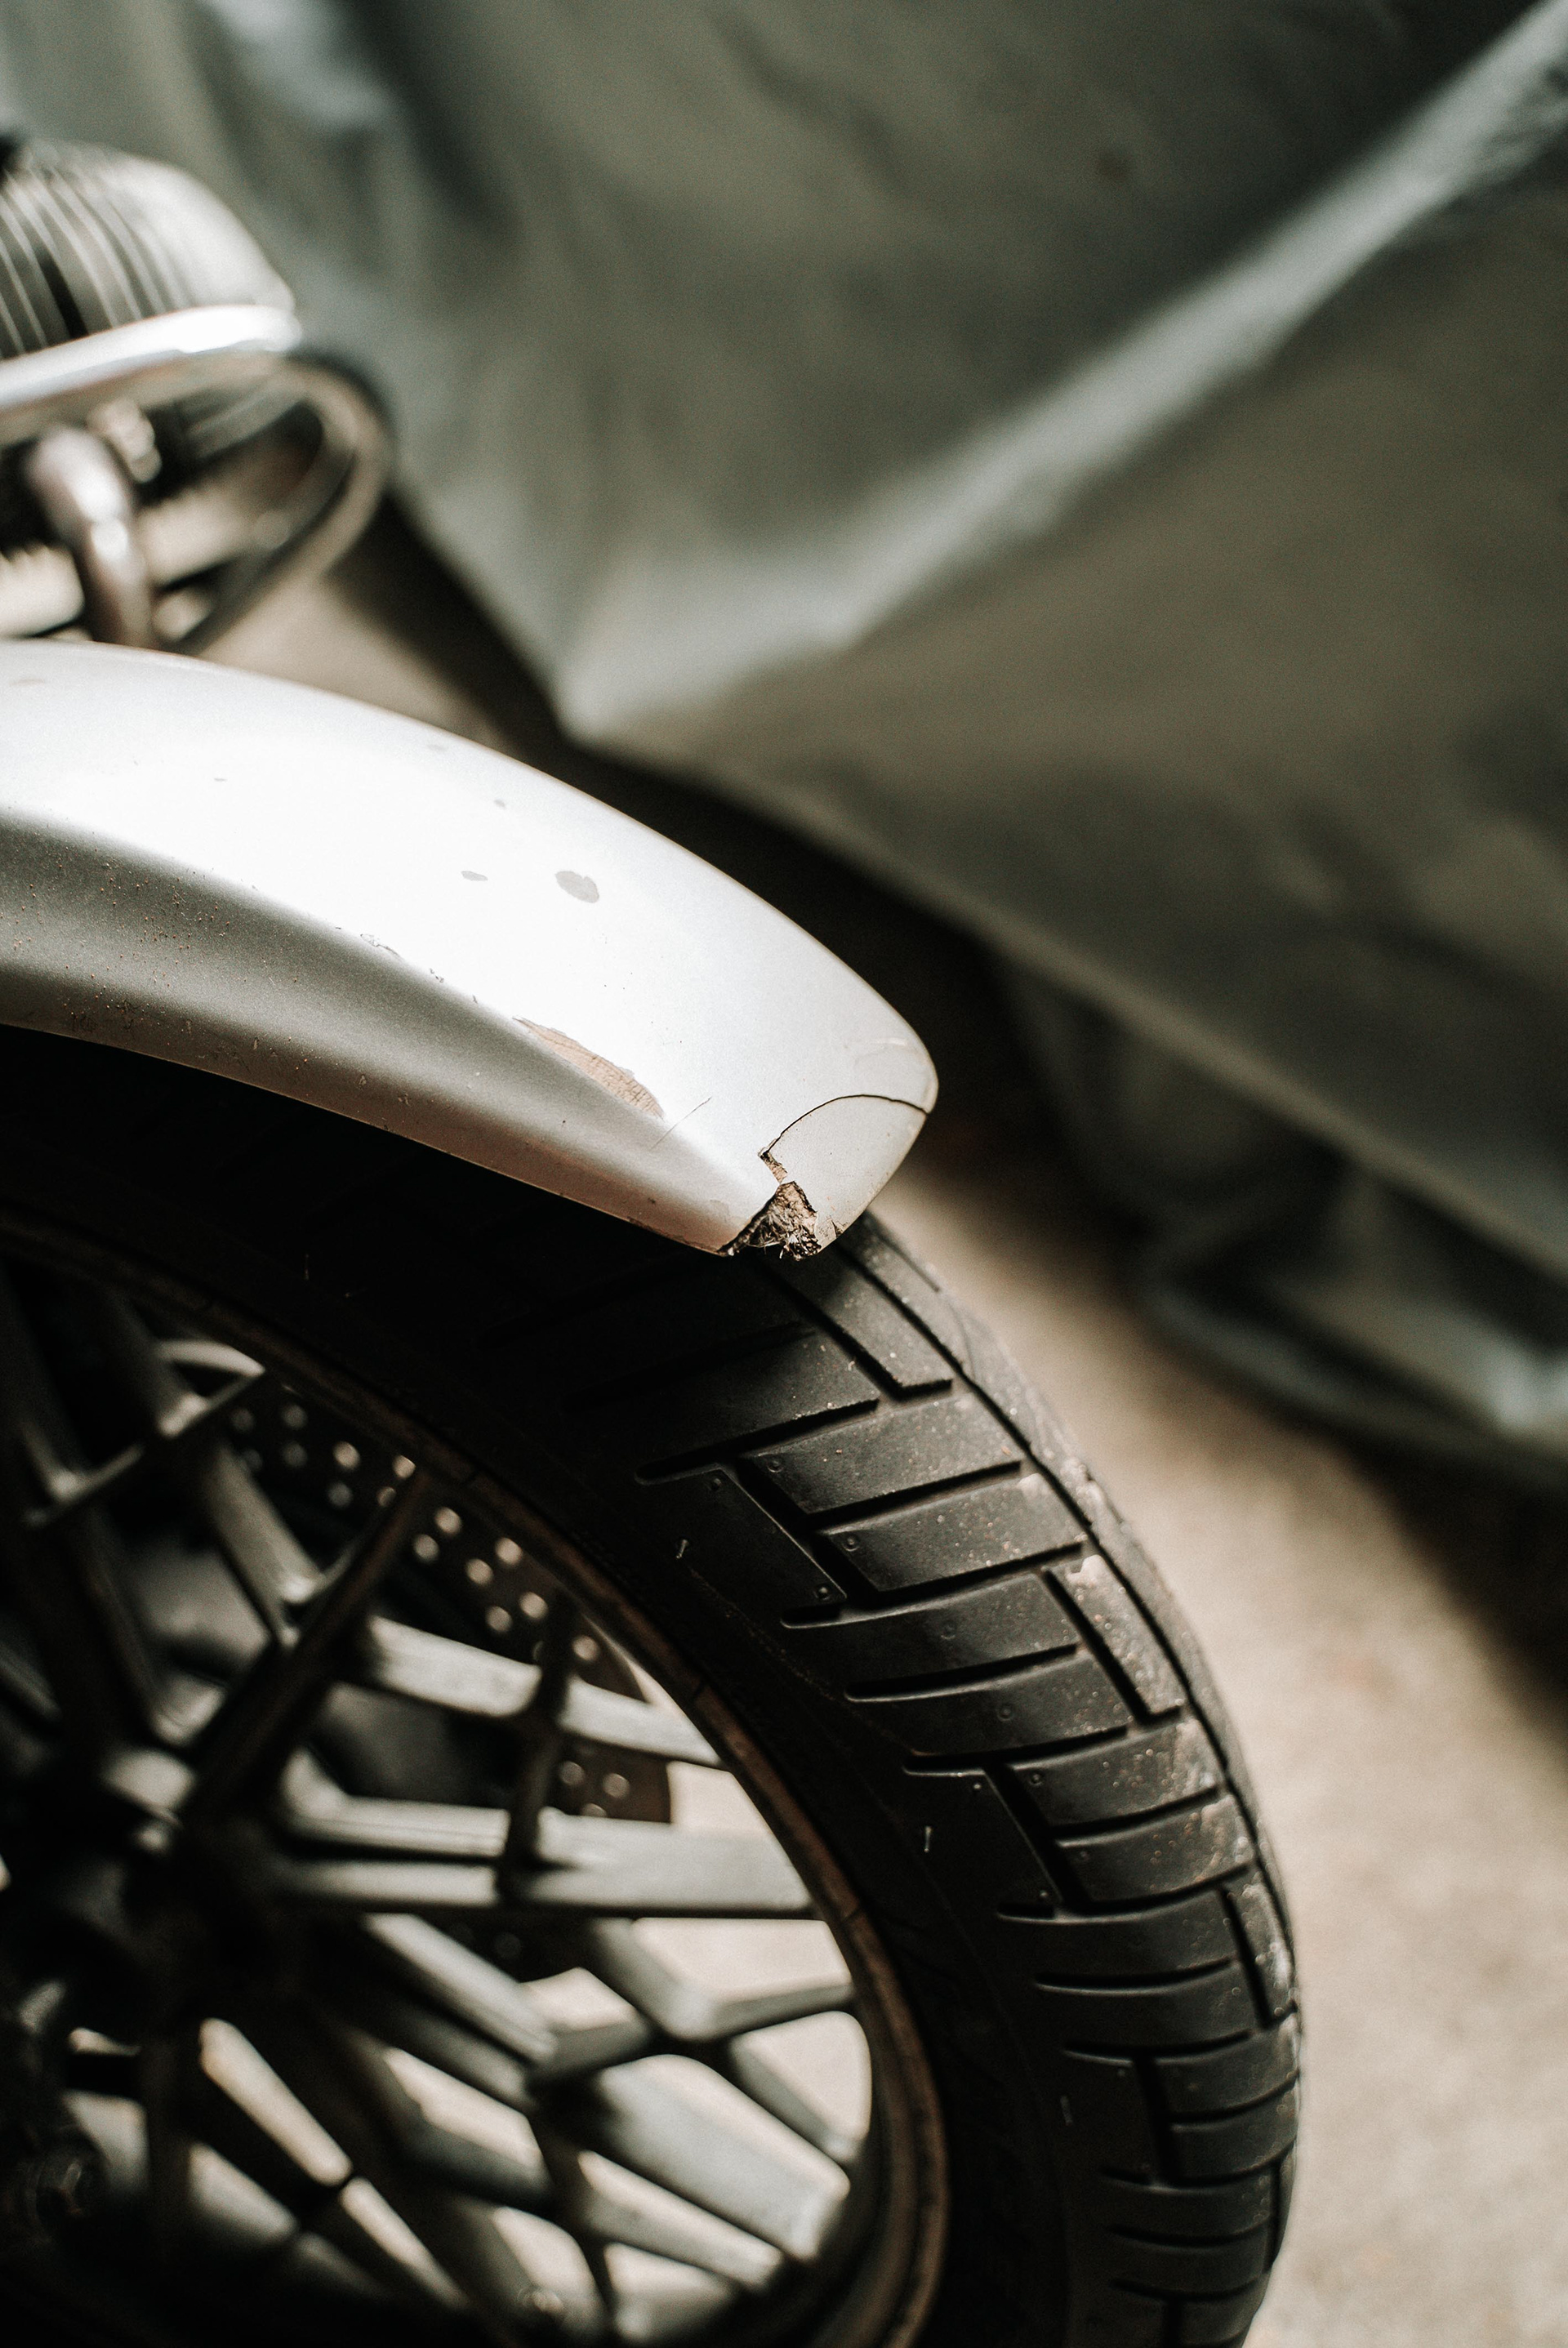
28 April 2019
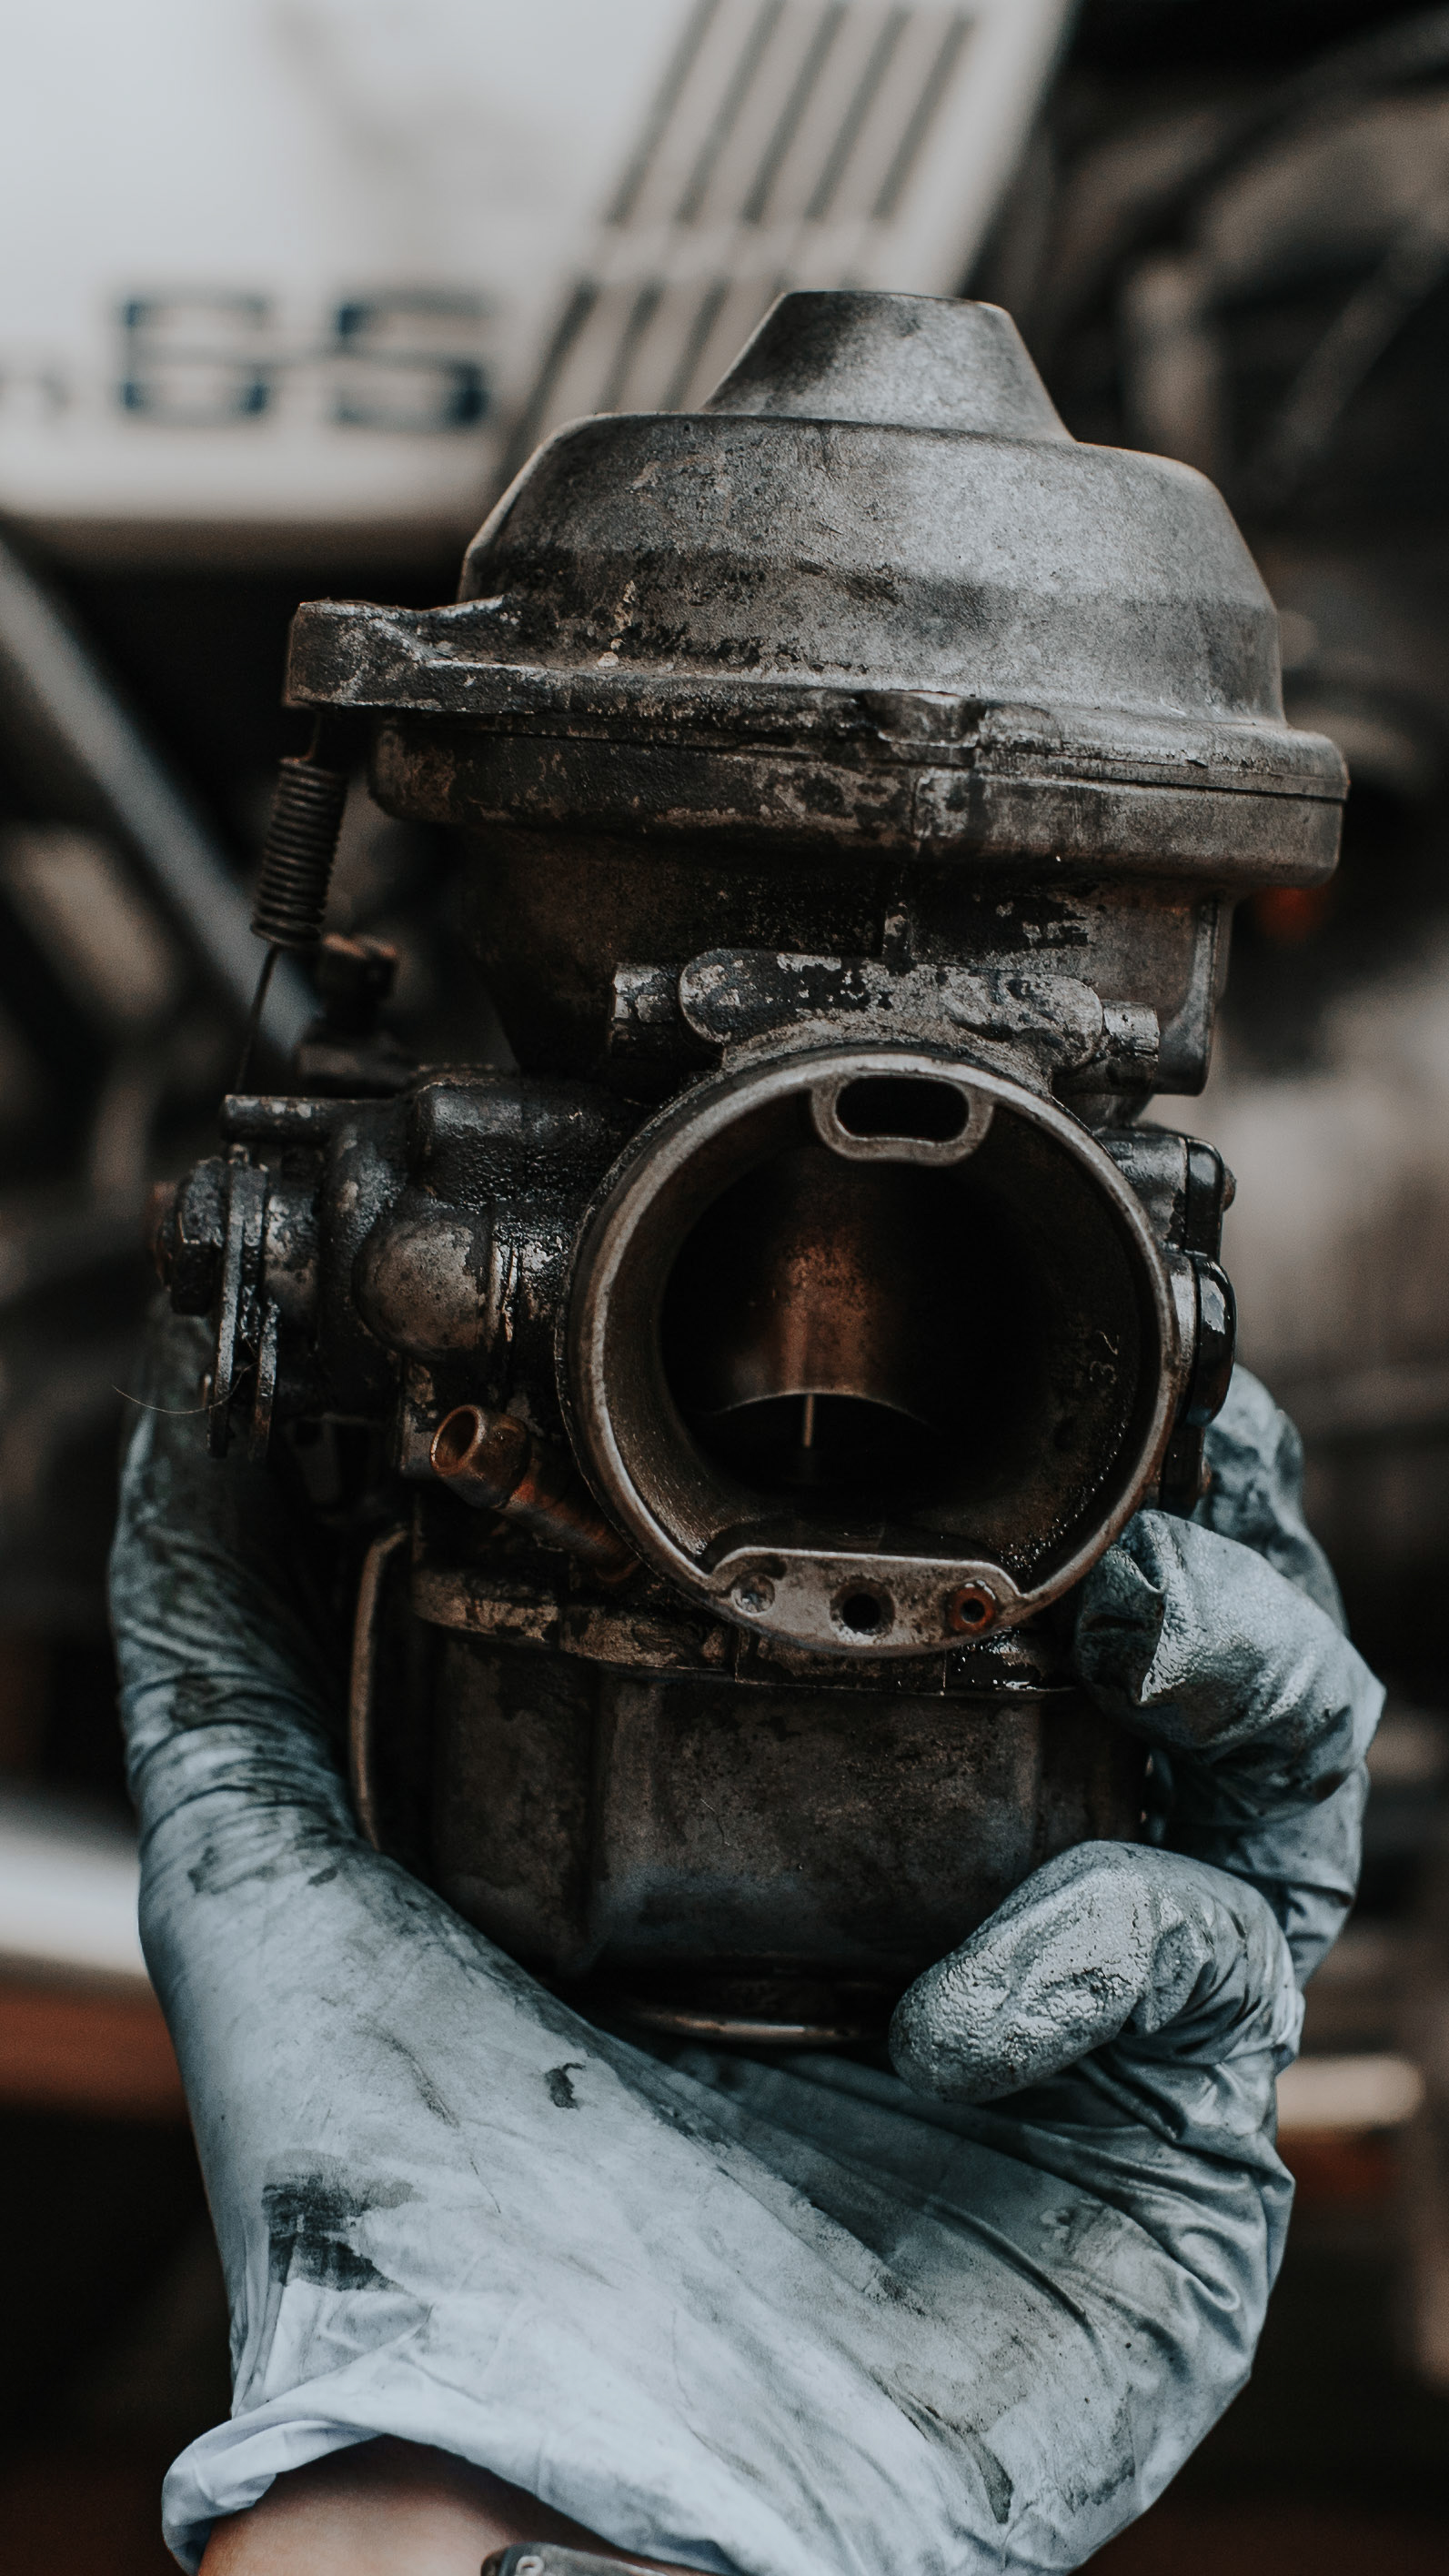
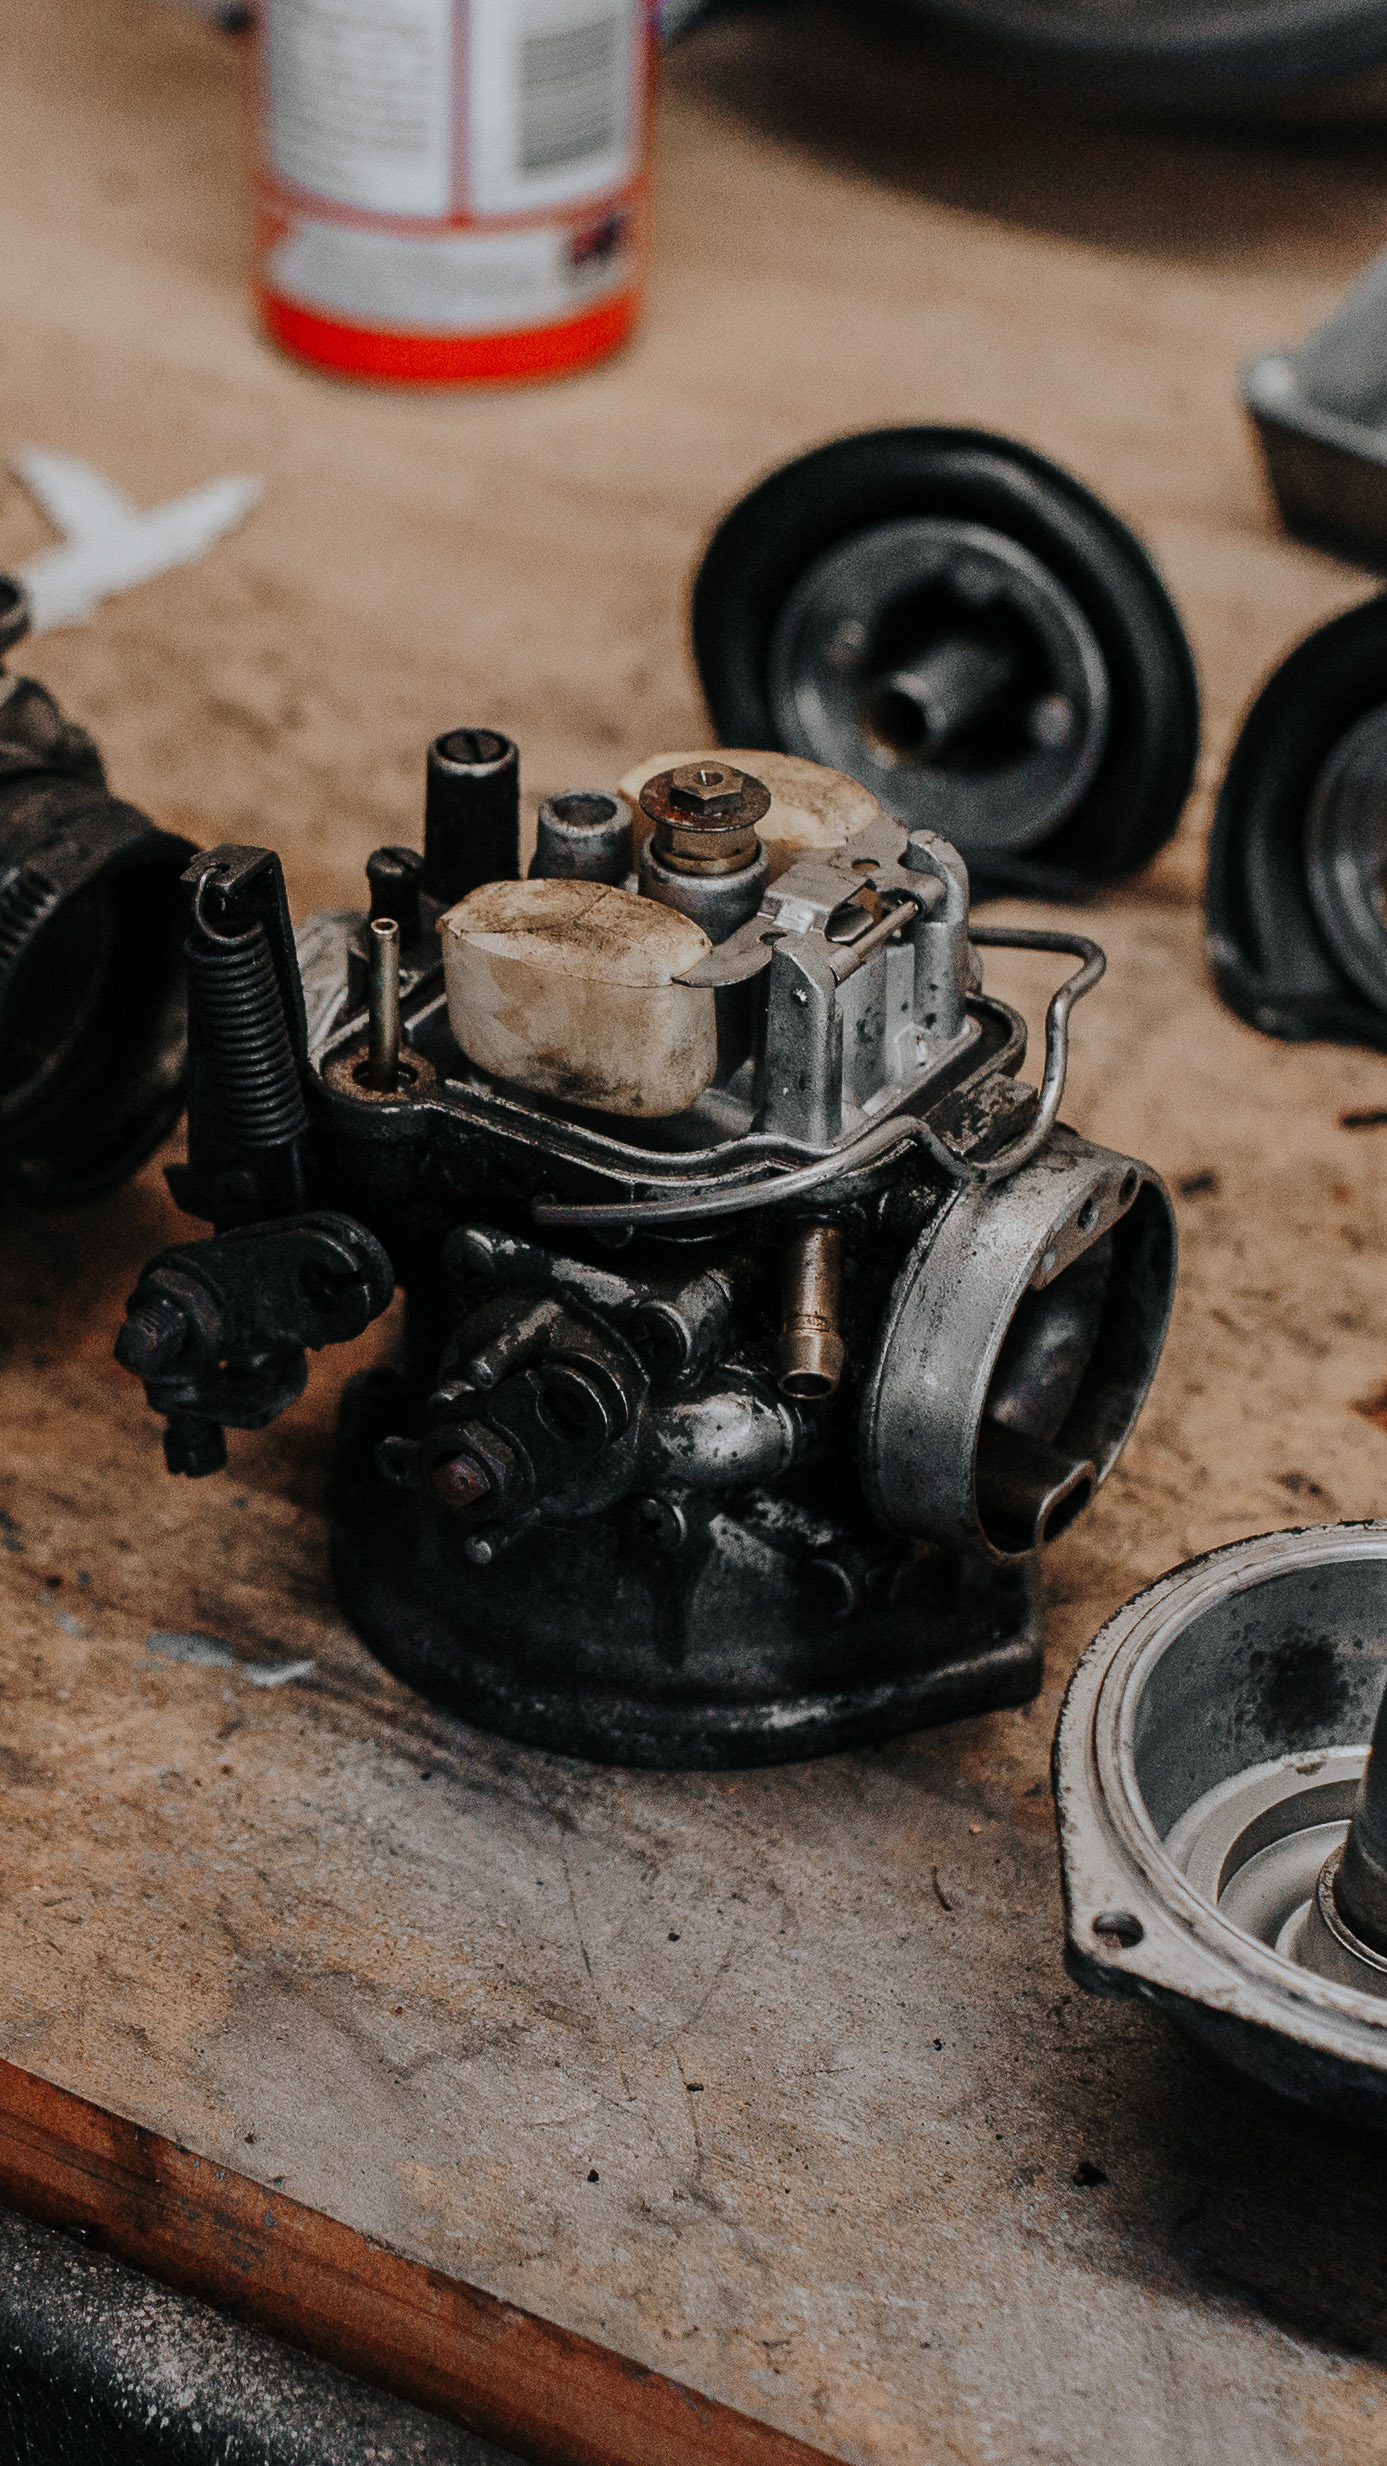
At the top of my to-do list from day 1 was a carb rebuild and cleanup. Relatively straight forward process; disassemble, clean and replace as many bits with new bits as possible. I then wirebrushed the body with a dremel and patched some spots with Rub 'n' Buff. Visually night and day but yet to feel the performance difference as I still need to rebalance them with a vacuum syncroniser.


25 April 2019
In the past few months I've done some minor work including wide bars, "el chico" mirrors and slowly cleaned the build up of solidified grease and road tar that's been coated over the engine and throughout the forks (Nothing exciting).
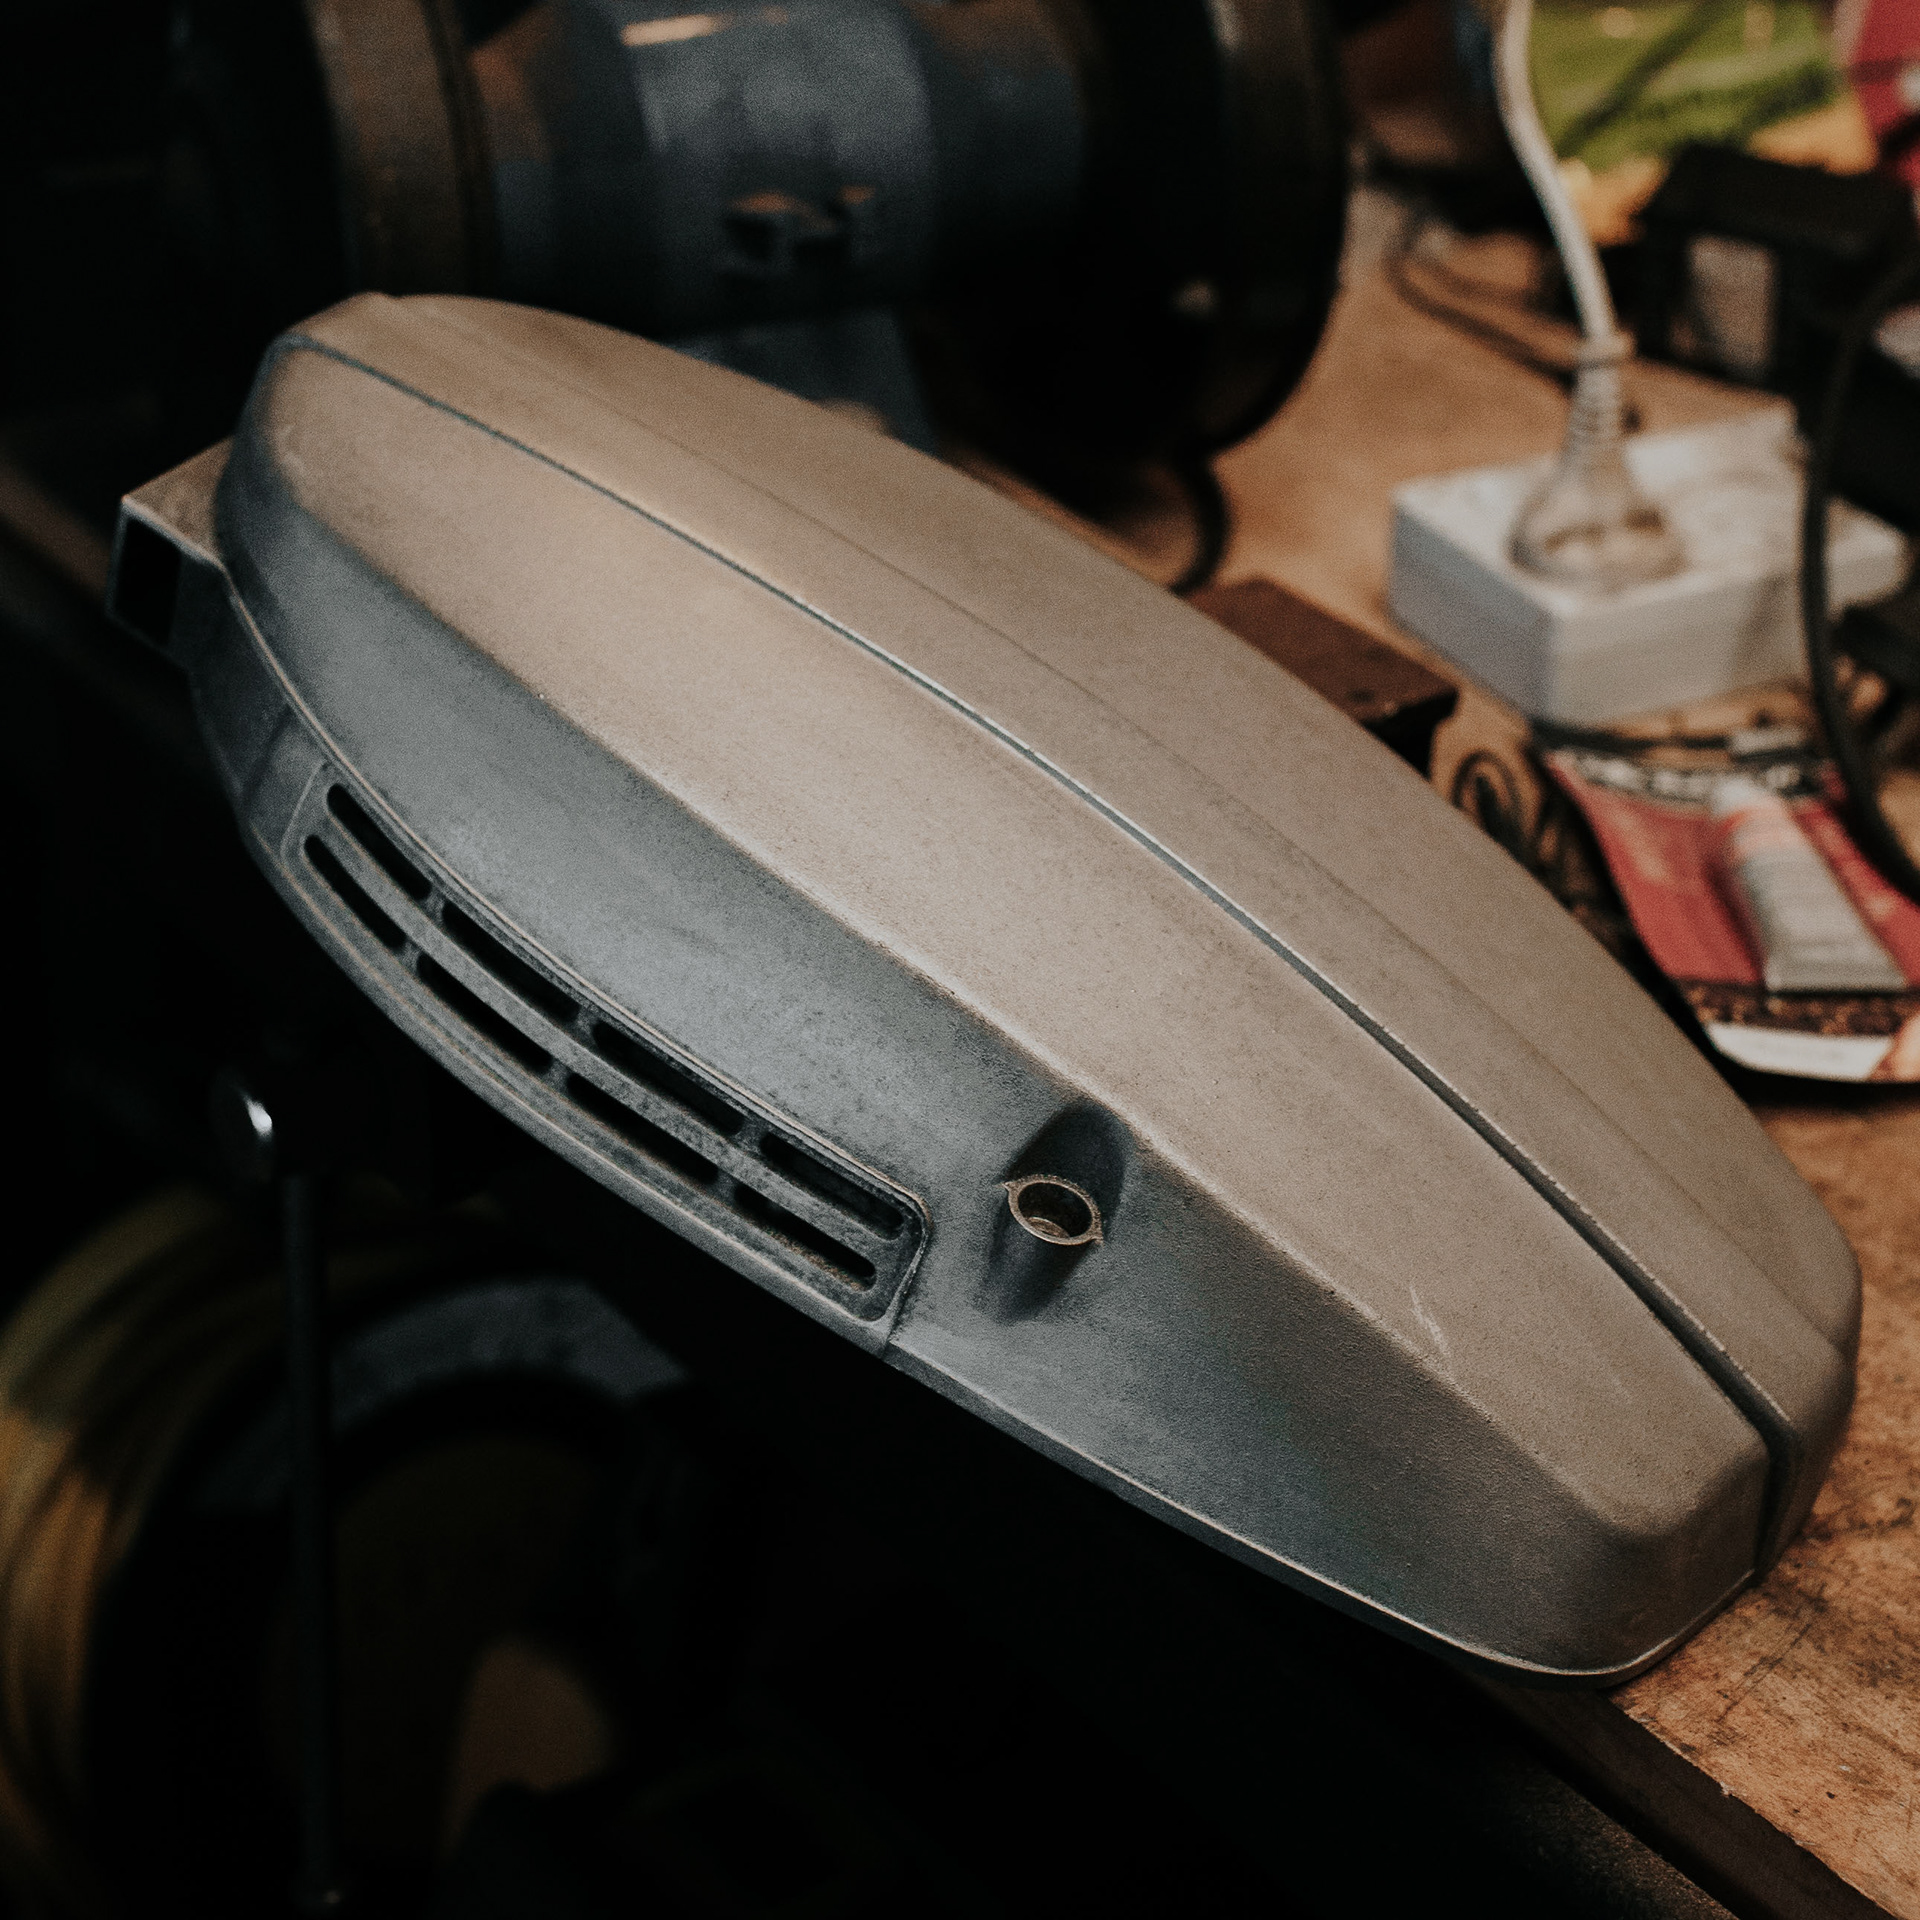
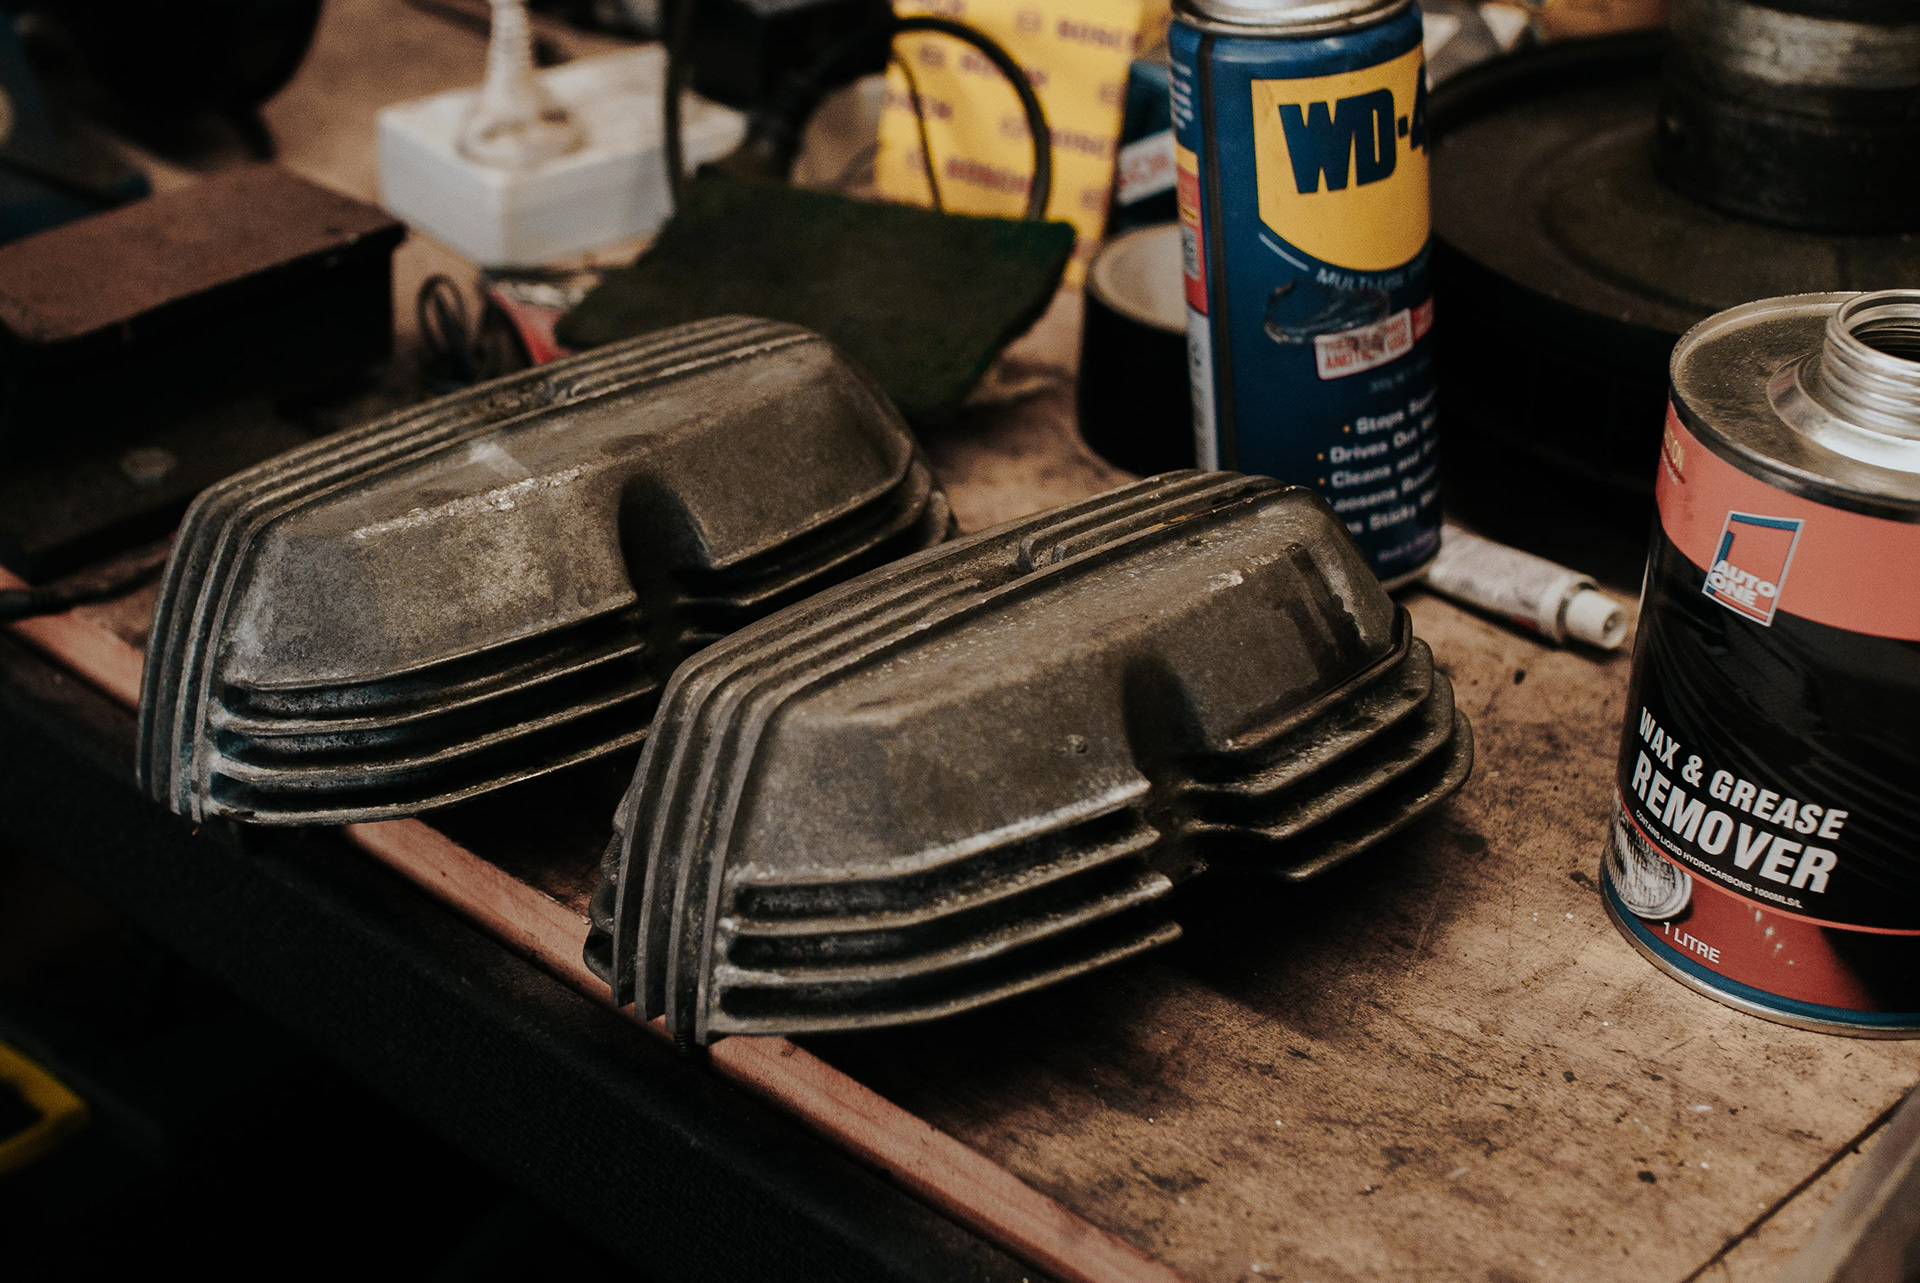
Today I've done a general maintenance tune up such as a valve adjustment along with beginning some cosmetic clean ups of the starter, alternator and valve covers. A scotchbrite pad with degreaser and WD40 along with a pressure wash in some sections removes most of the surface grime. To clear up the discoloration I've wiped on some "Rub n Buff" (pewter) which is what really produces the night and day results.

1 October 2018: Day 1
I bought the R65 with the original intention of restomoding it as a minimal brat style bike however, at the moment the original look of the R65 is starting to grow on me. So, for the time being I think my plan is just to get it running and looking clean as it is, and enjoy it until I eventually figure out what I have in mind.
John loading the bike onto the trailer- the day he sold me my first motorcycle.